
Get ready to Make Along!
Join the Makers on this month’s episode of the JoCoLibrary’s podcast, Did you hear? As the Makers walk hosts Dave and Charles through a polymer clay project, you’ll get a chance to learn about some digital fabrication tools found in the MakerSpace along with a bit of fun MakerSpace trivia.
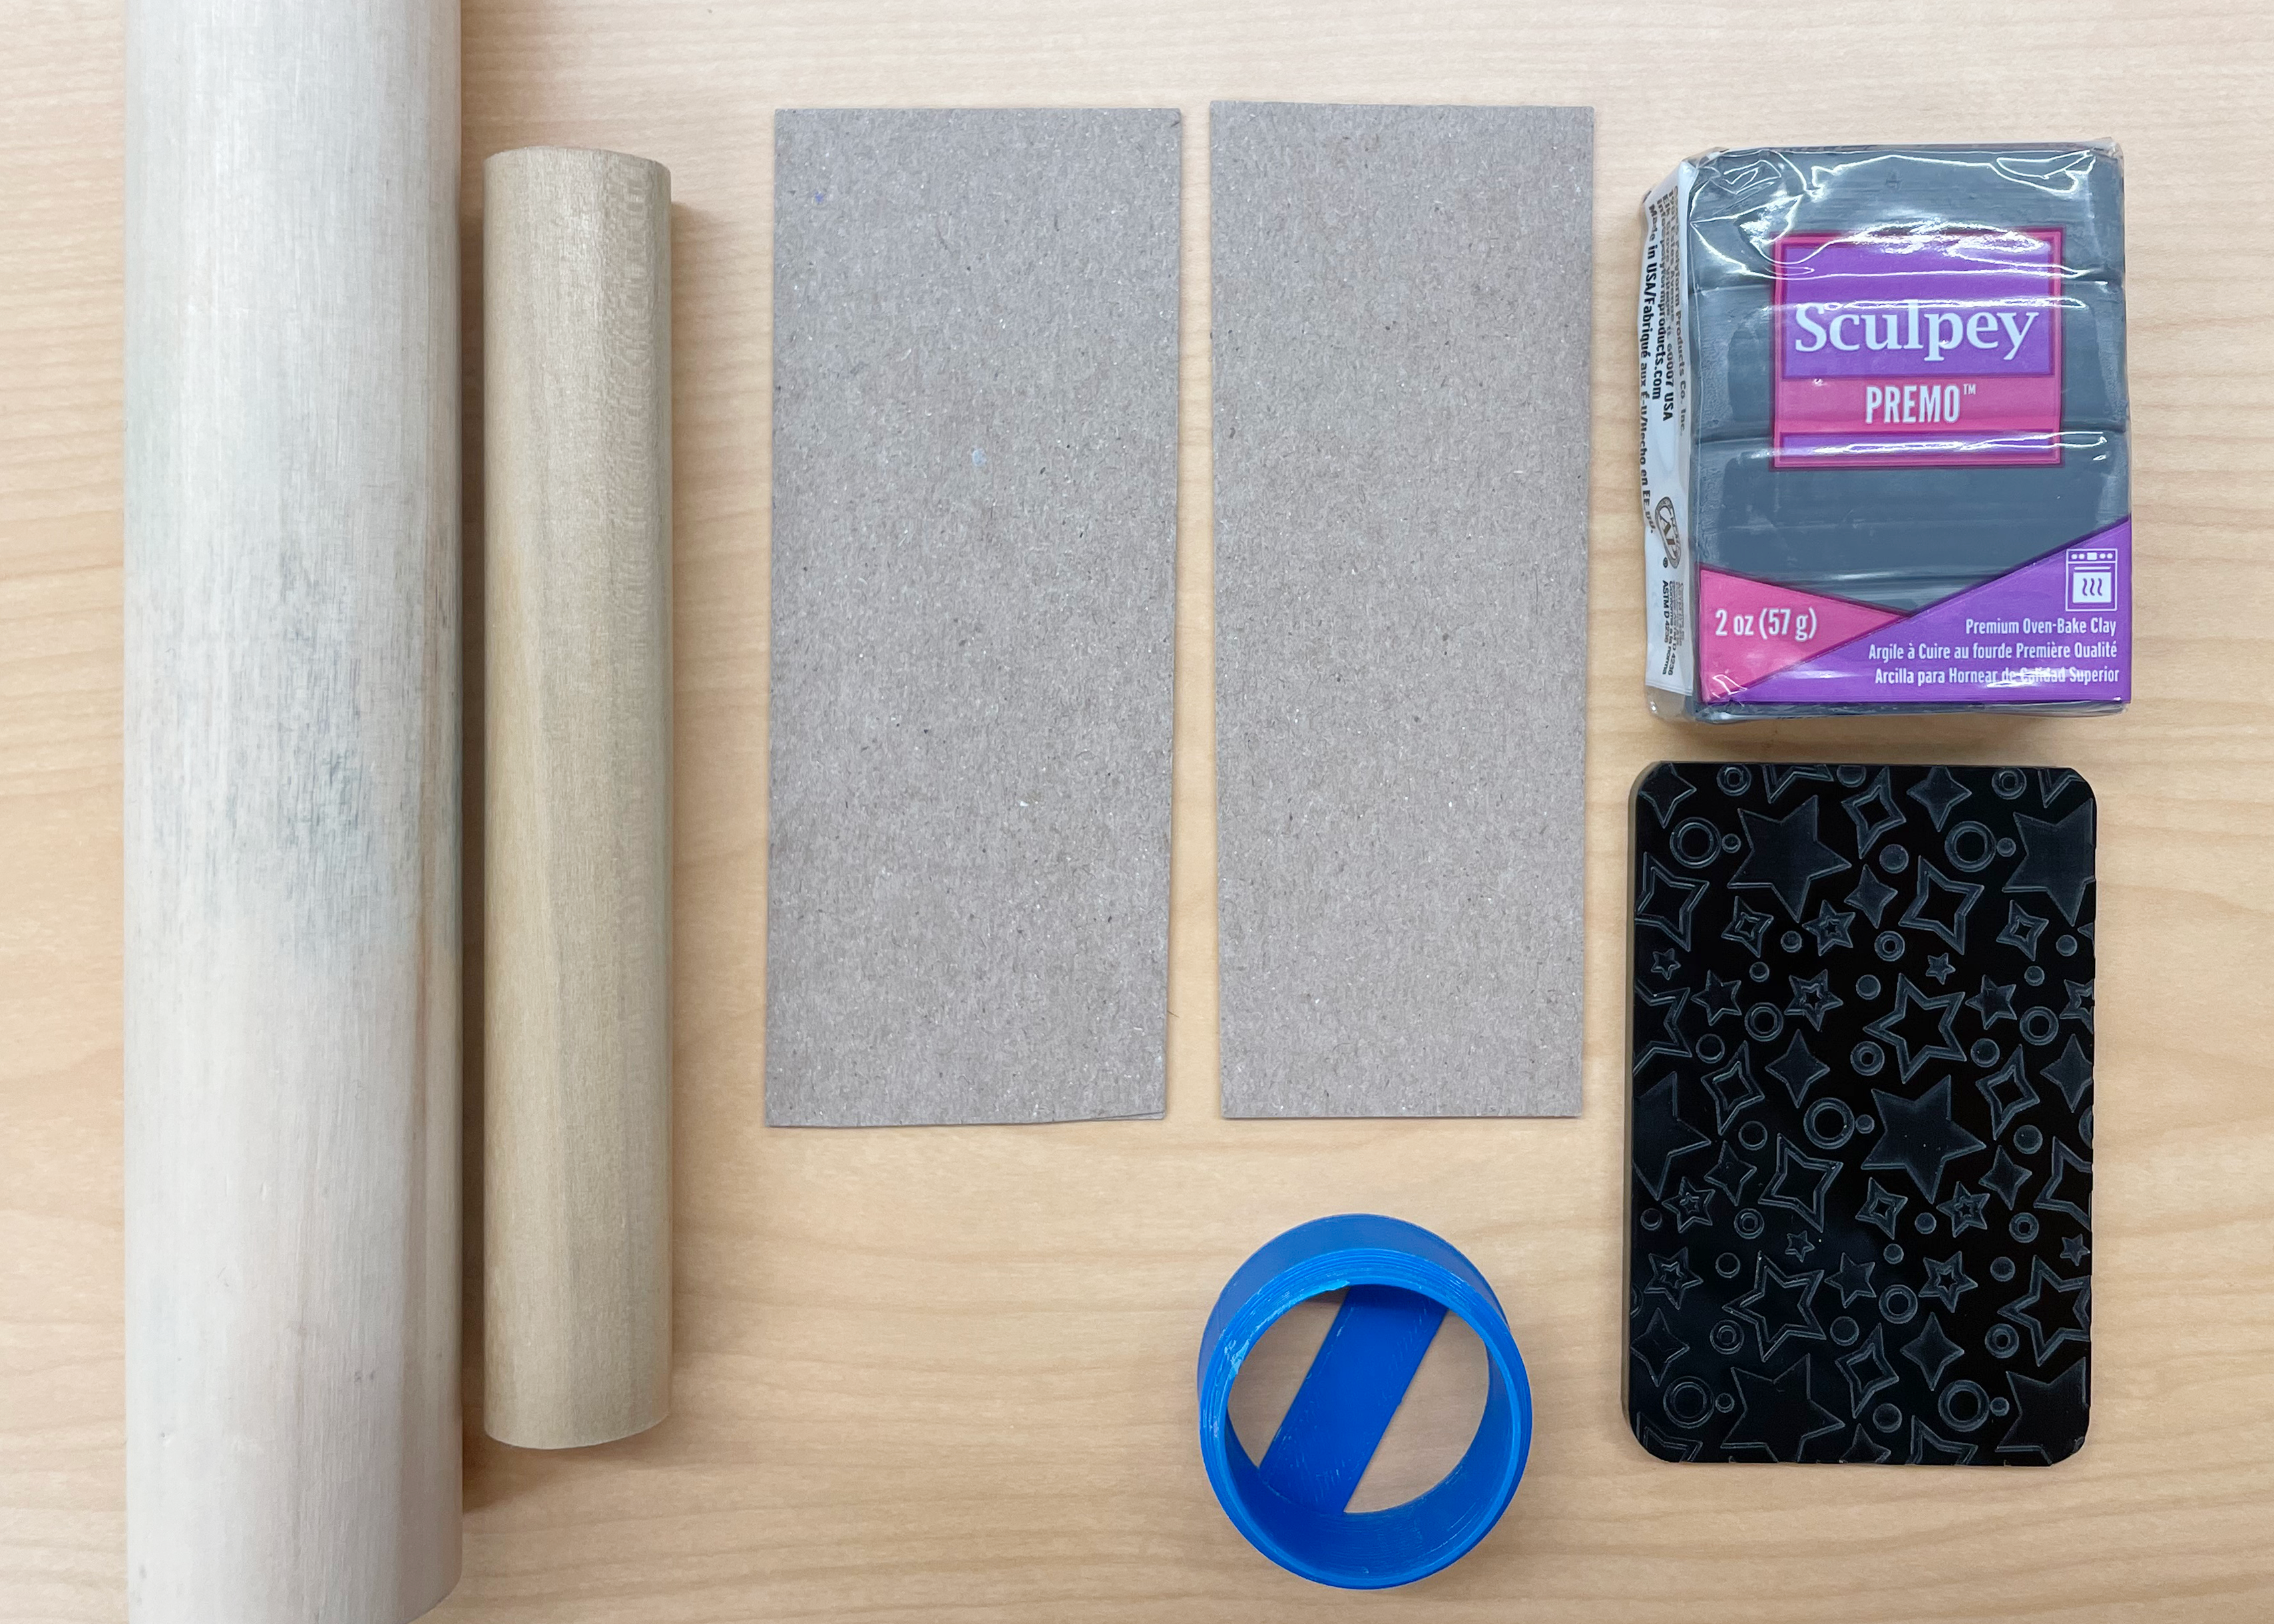
Interested in following along with the project? For this exercise, you’ll need these supplies:
- Polymer clay
- Rolling pins or dowels
- Two pieces of something flat, about 1/8” thick, to use as spacers
- A texture to impress into the clay.
- A shape to cut out of the clay.
Polymer clay is a common modeling clay used for all types of sculpting, jewelry making, and art projects. Like many art mediums, it can take a long time to perfect how to use it effectively. We wanted to help tackle this barrier by providing some easy methods to try and hopefully encourage you to start on your polymer clay journey.
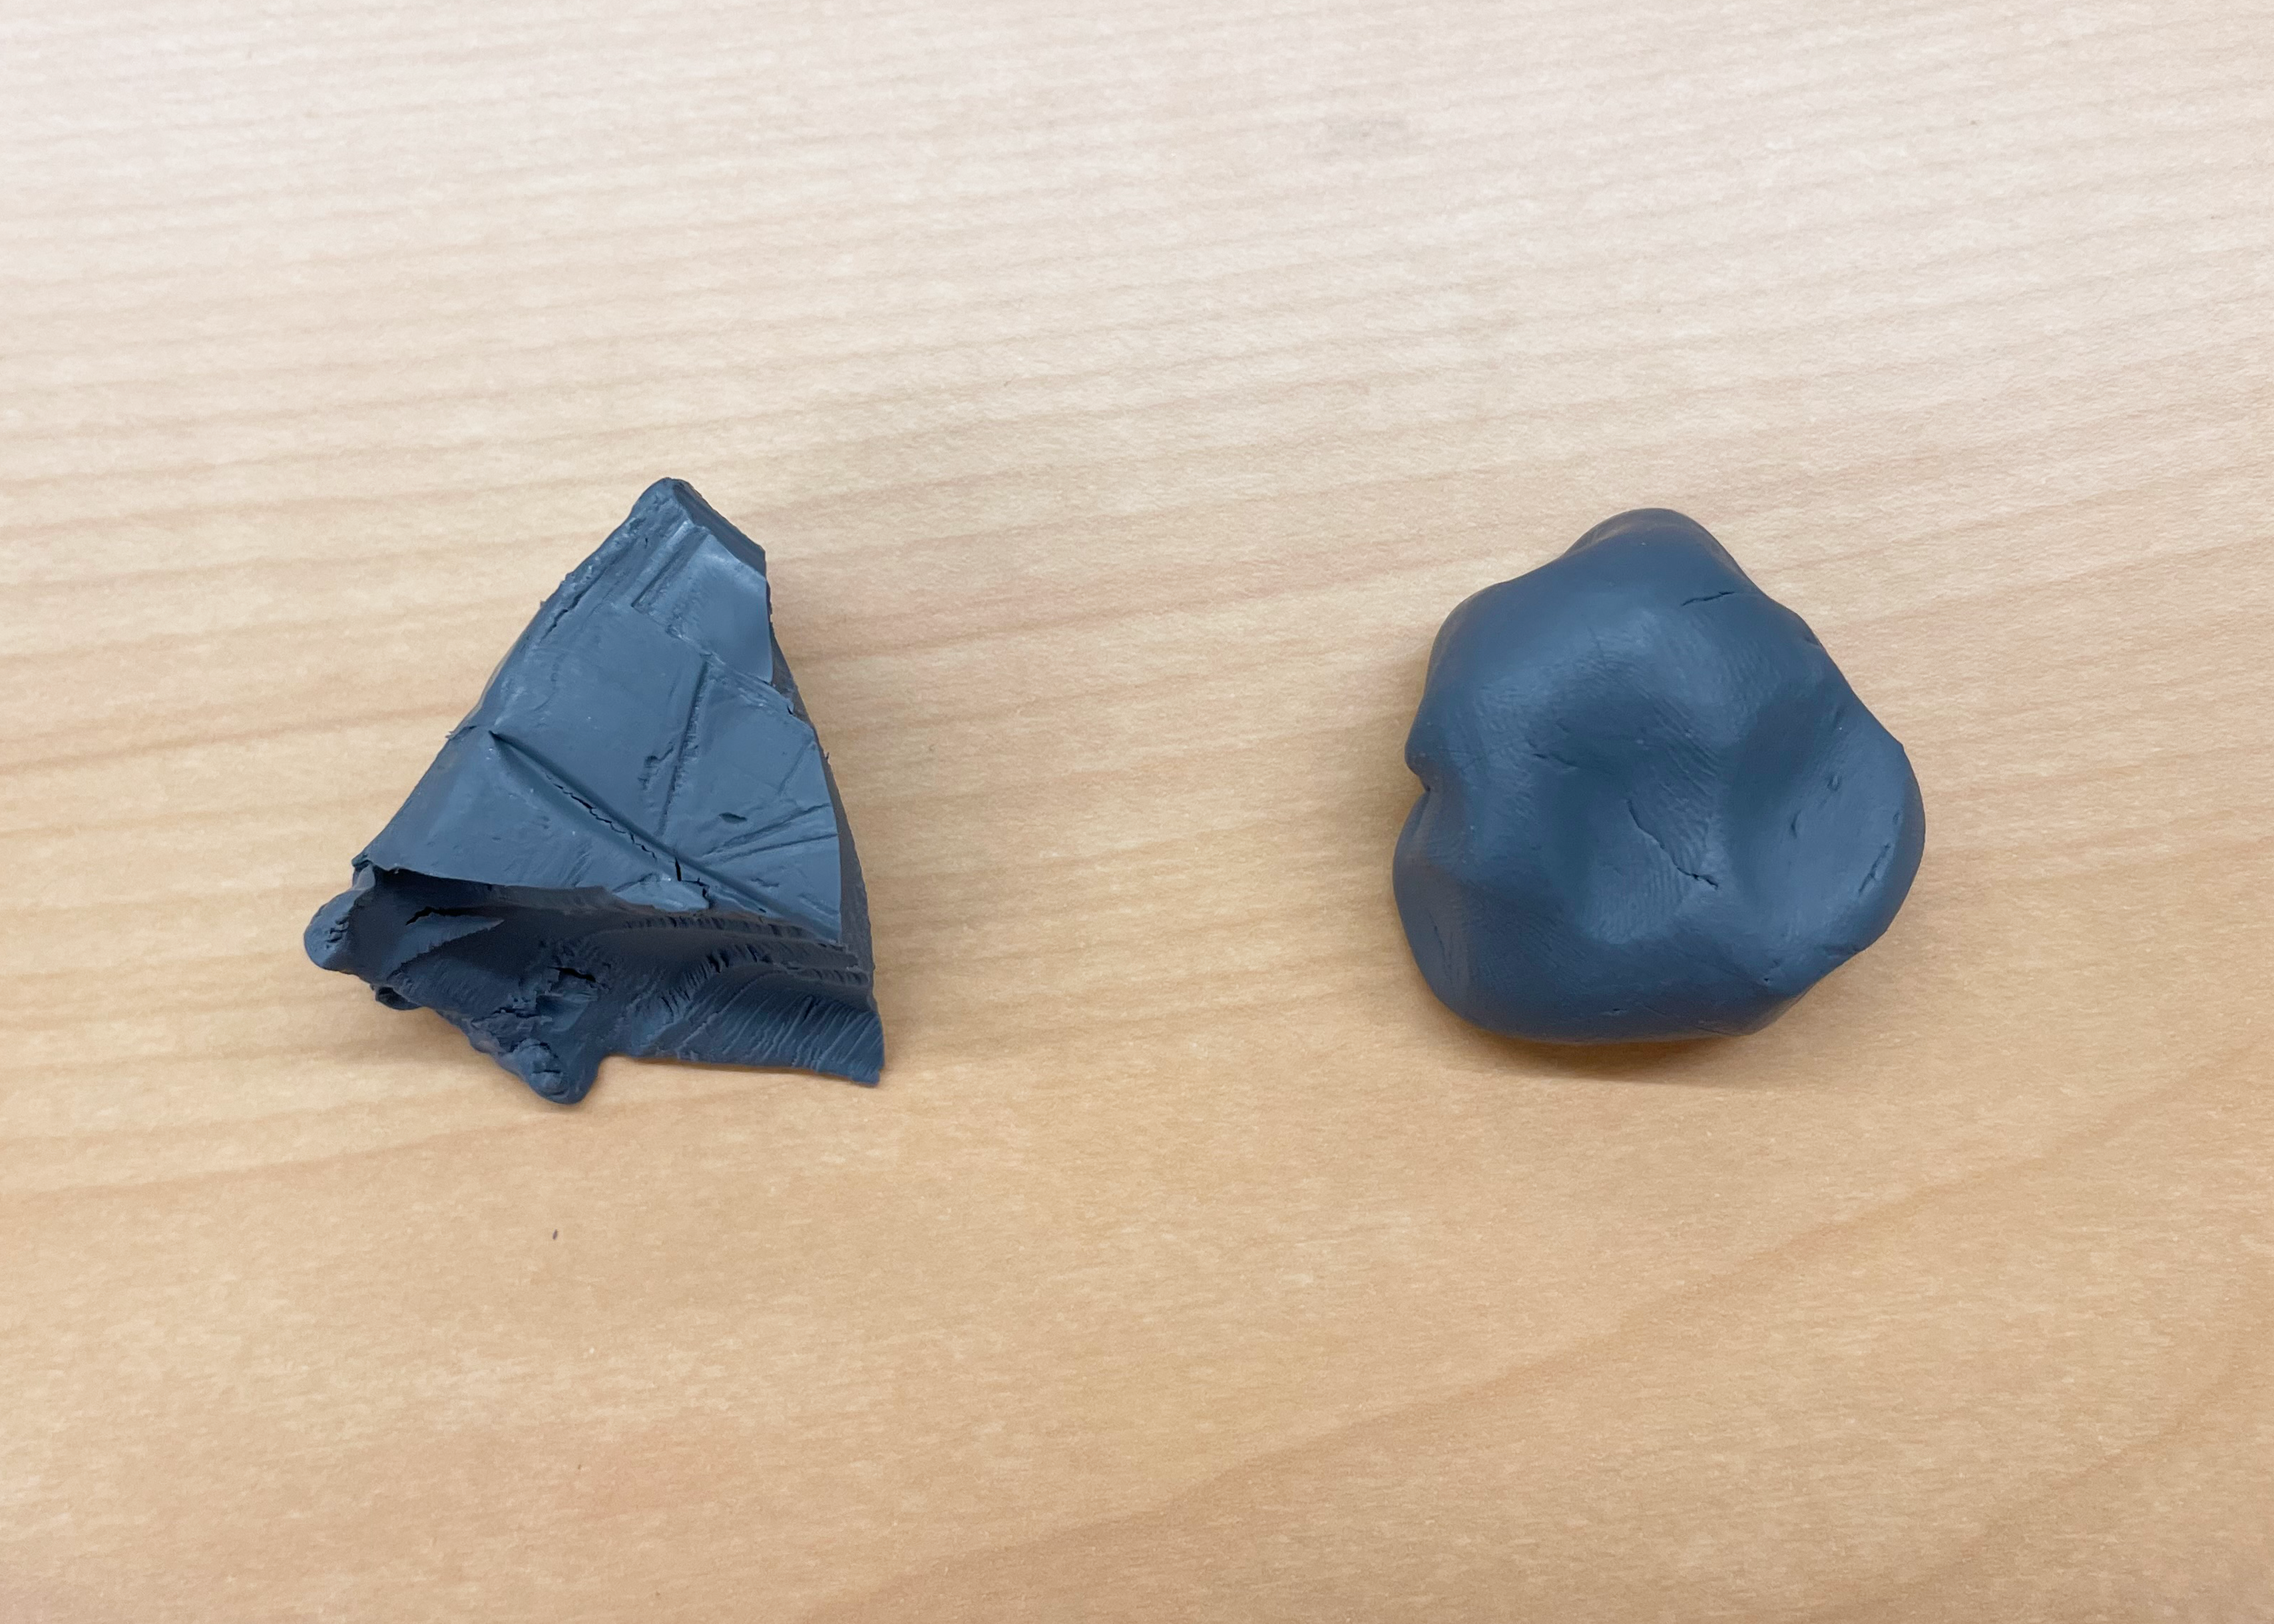
Start by warming up the clay. Polymer clay which has been sitting for a while or is fresh from the package will be hard and have an almost crumbly texture. In order to get it pliable and workable, take a few minutes to heat it up. Warming it between your palms or kneading it like dough will make it more malleable and give you a soft piece of clay to work with.
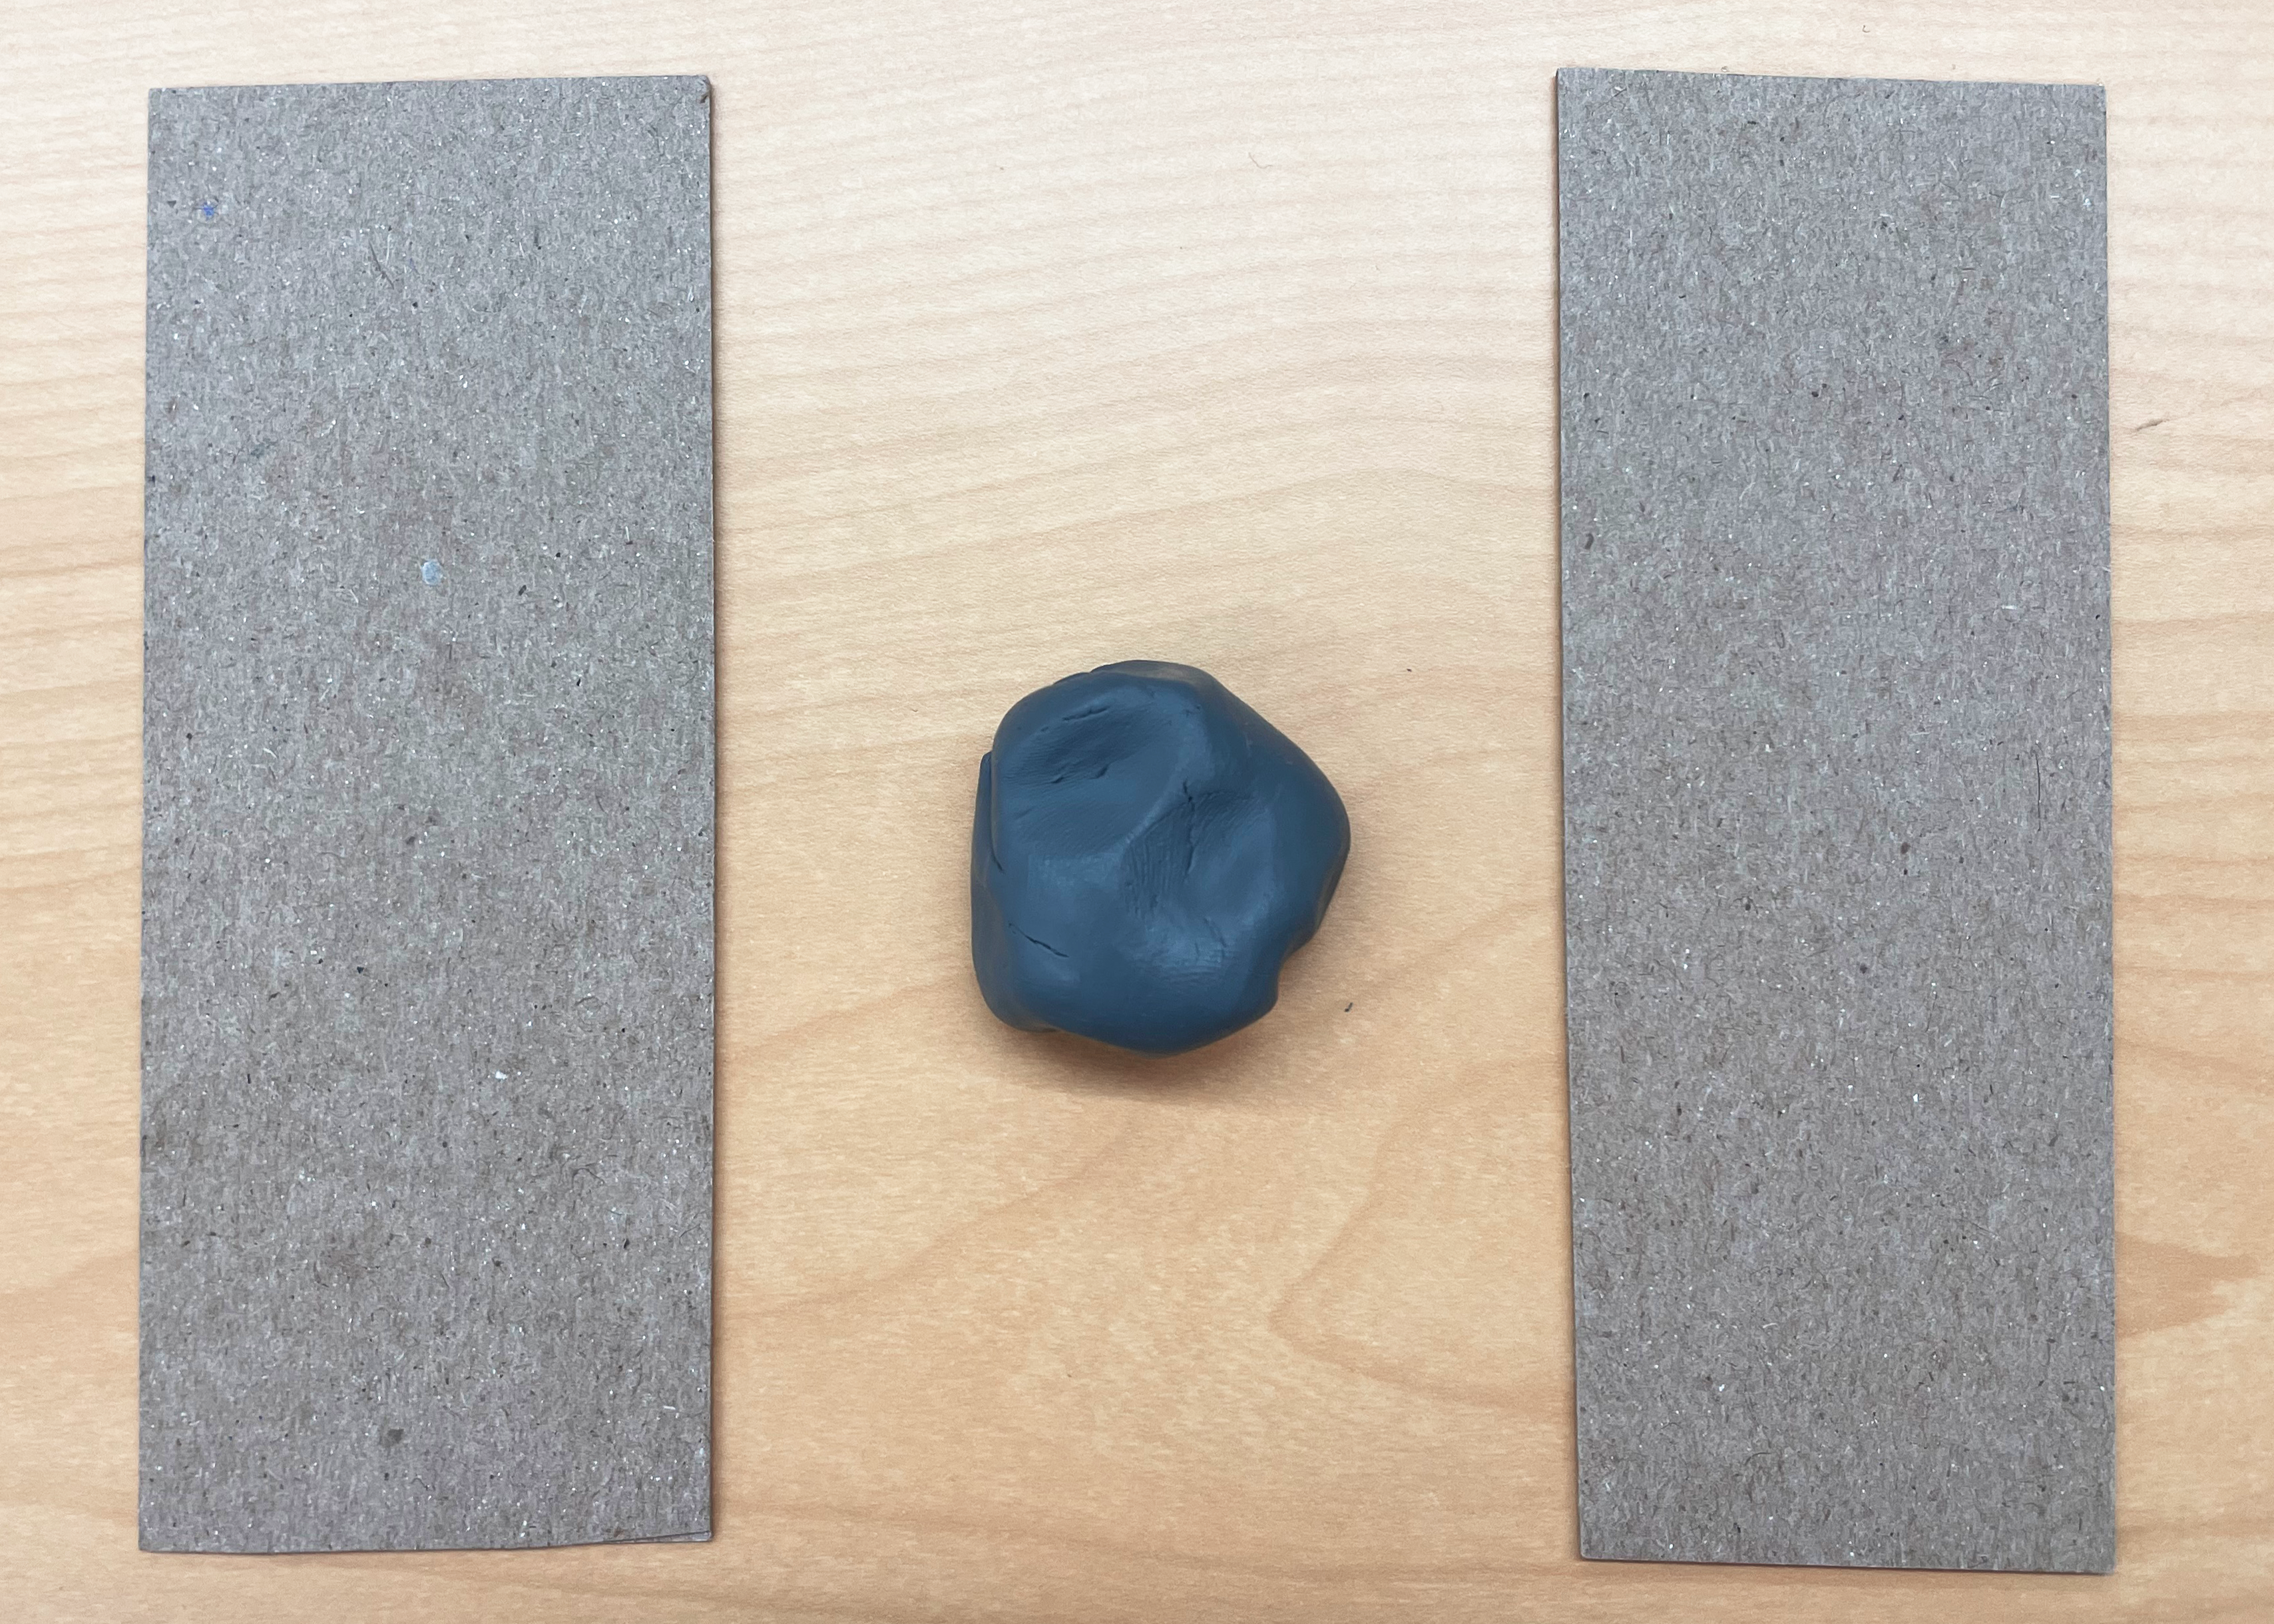
To achieve the best results for this project, we will want to flatten our clay evenly on a smooth surface. Position a gumball sized piece of polymer clay between your two flat surfaces. In this example, we used a thin piece of chipboard as the spacers.
With your rolling pin or dowel, roll out the clay until it is even with the height of the spacers on both ends.
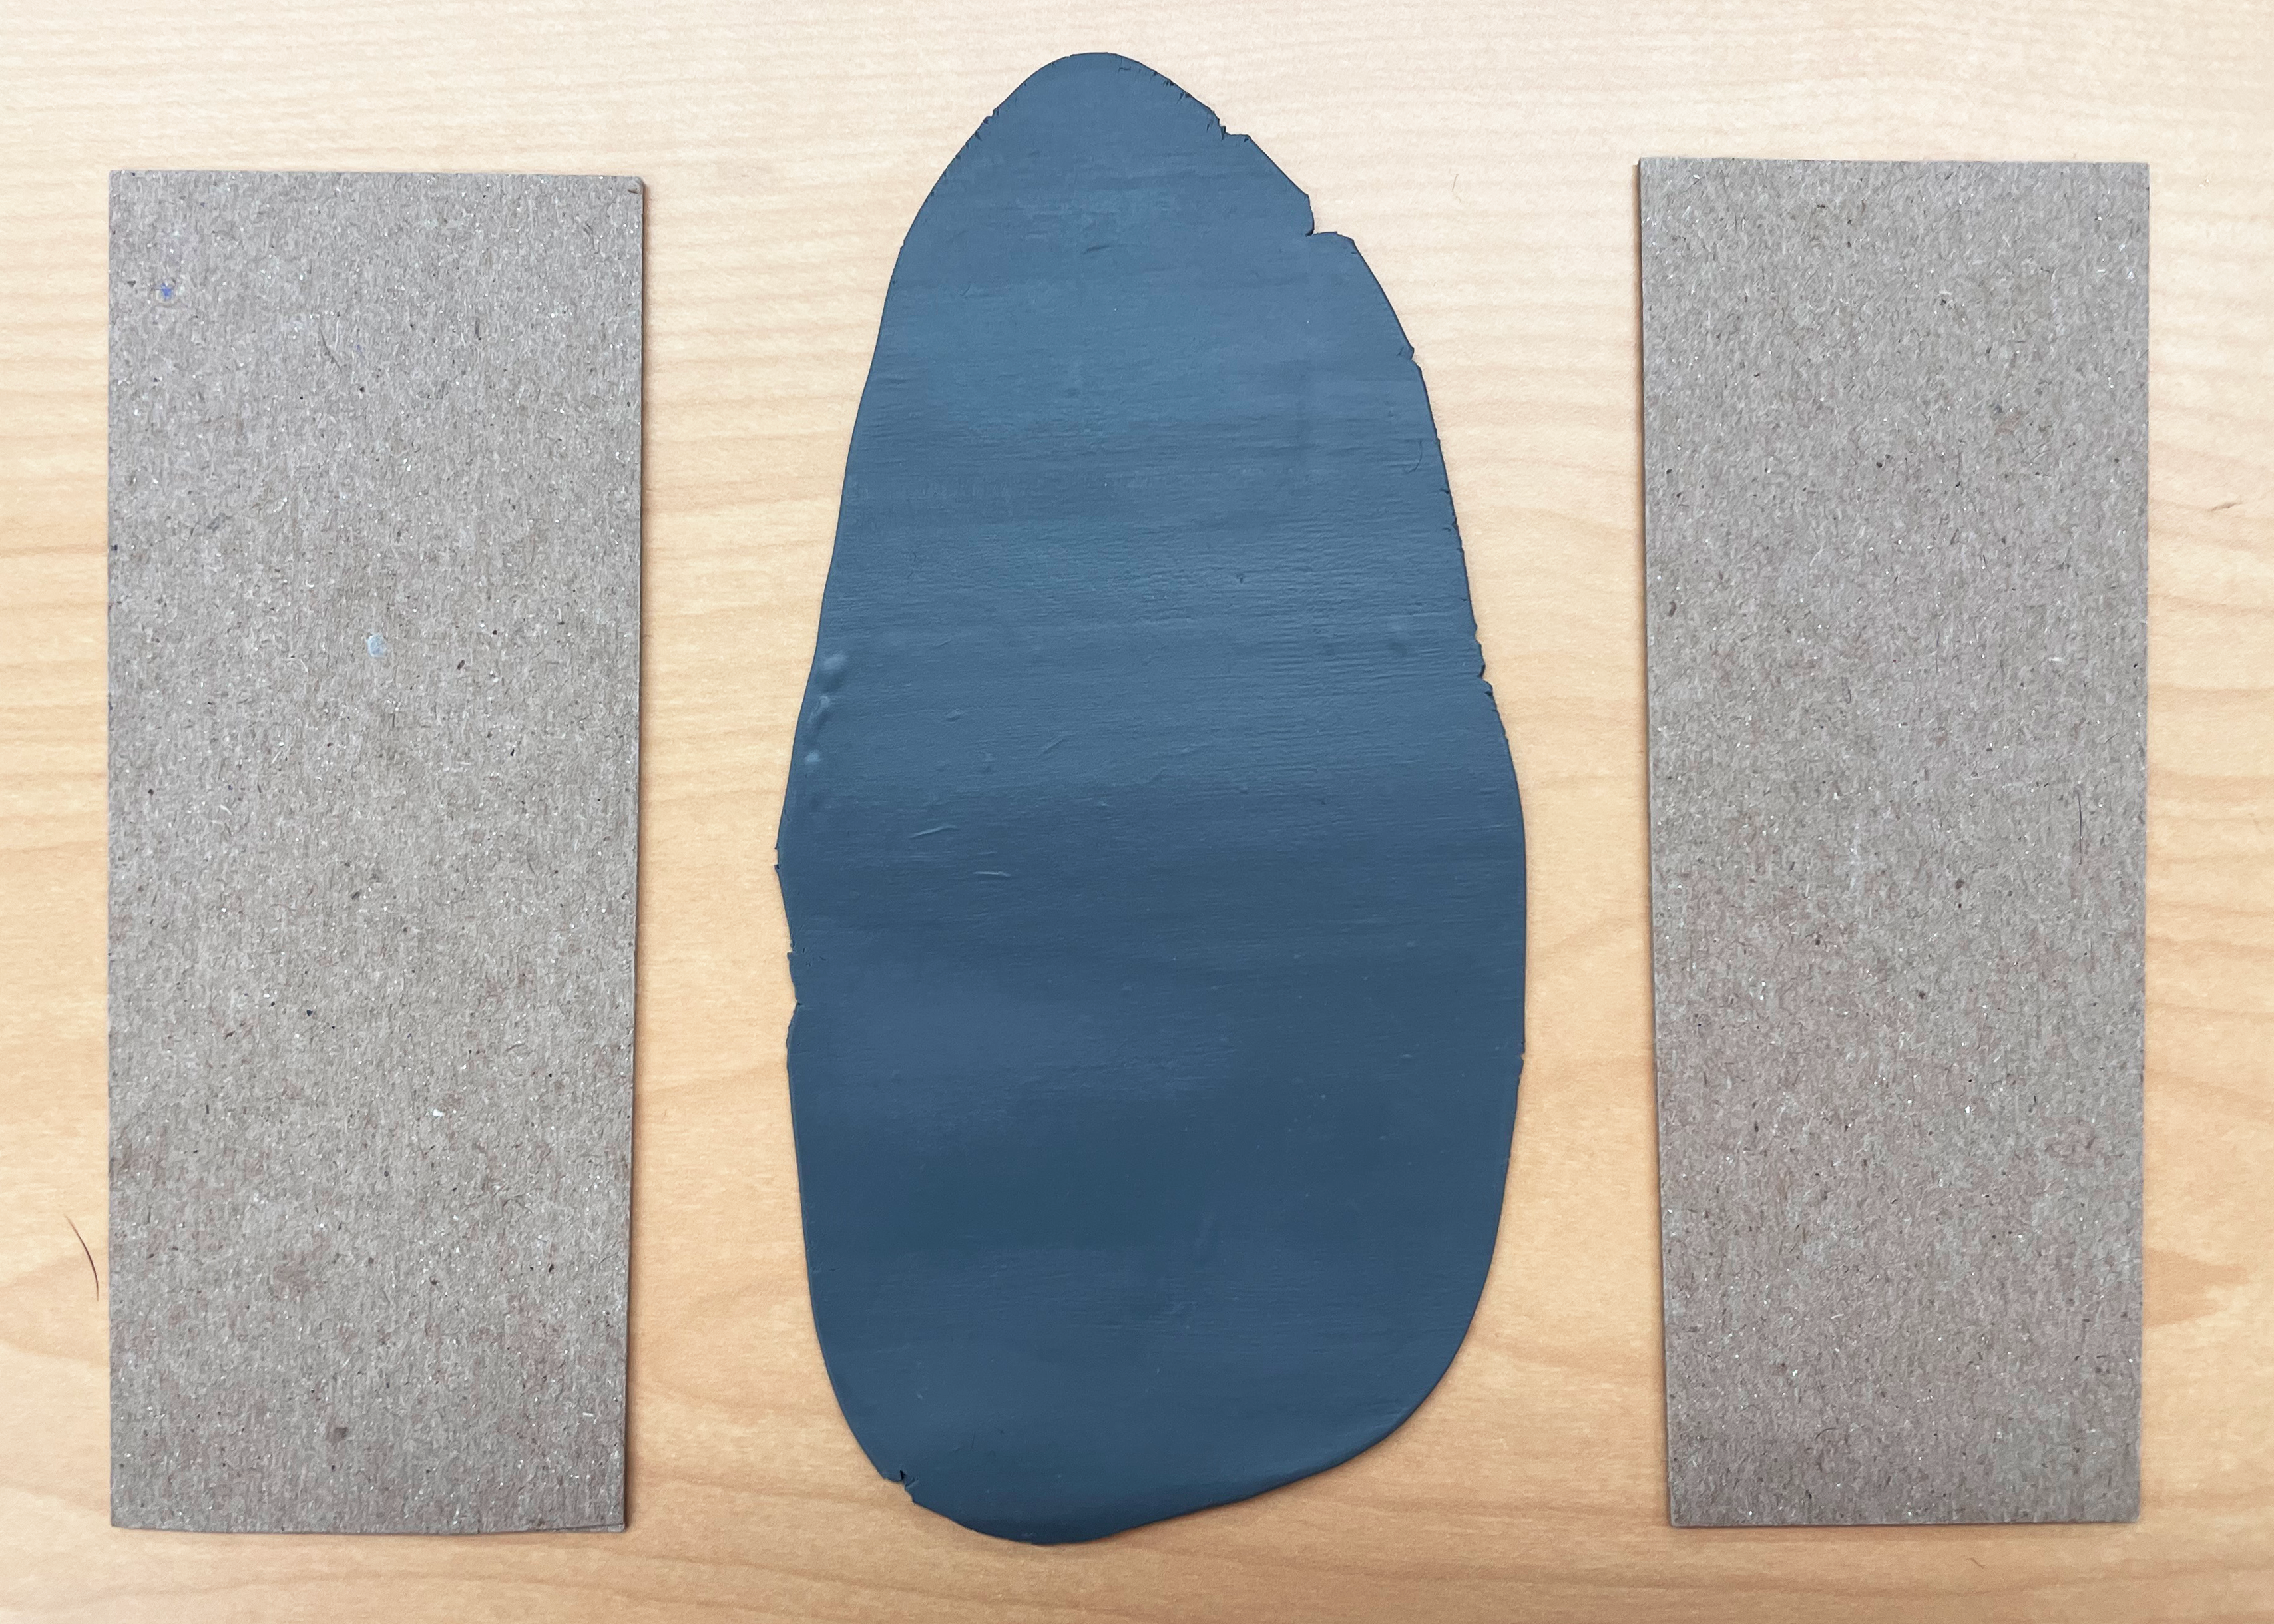
Now we have a nice blank and flat surface to have some fun on with texture and shapes.
When it comes to texture, this can be found or fabricated. Some ideas for texture you can find at home include concrete, jeans, wood grain, and plastic packaging. Get creative with it and try to find interesting or unique items to create all types of impressions.
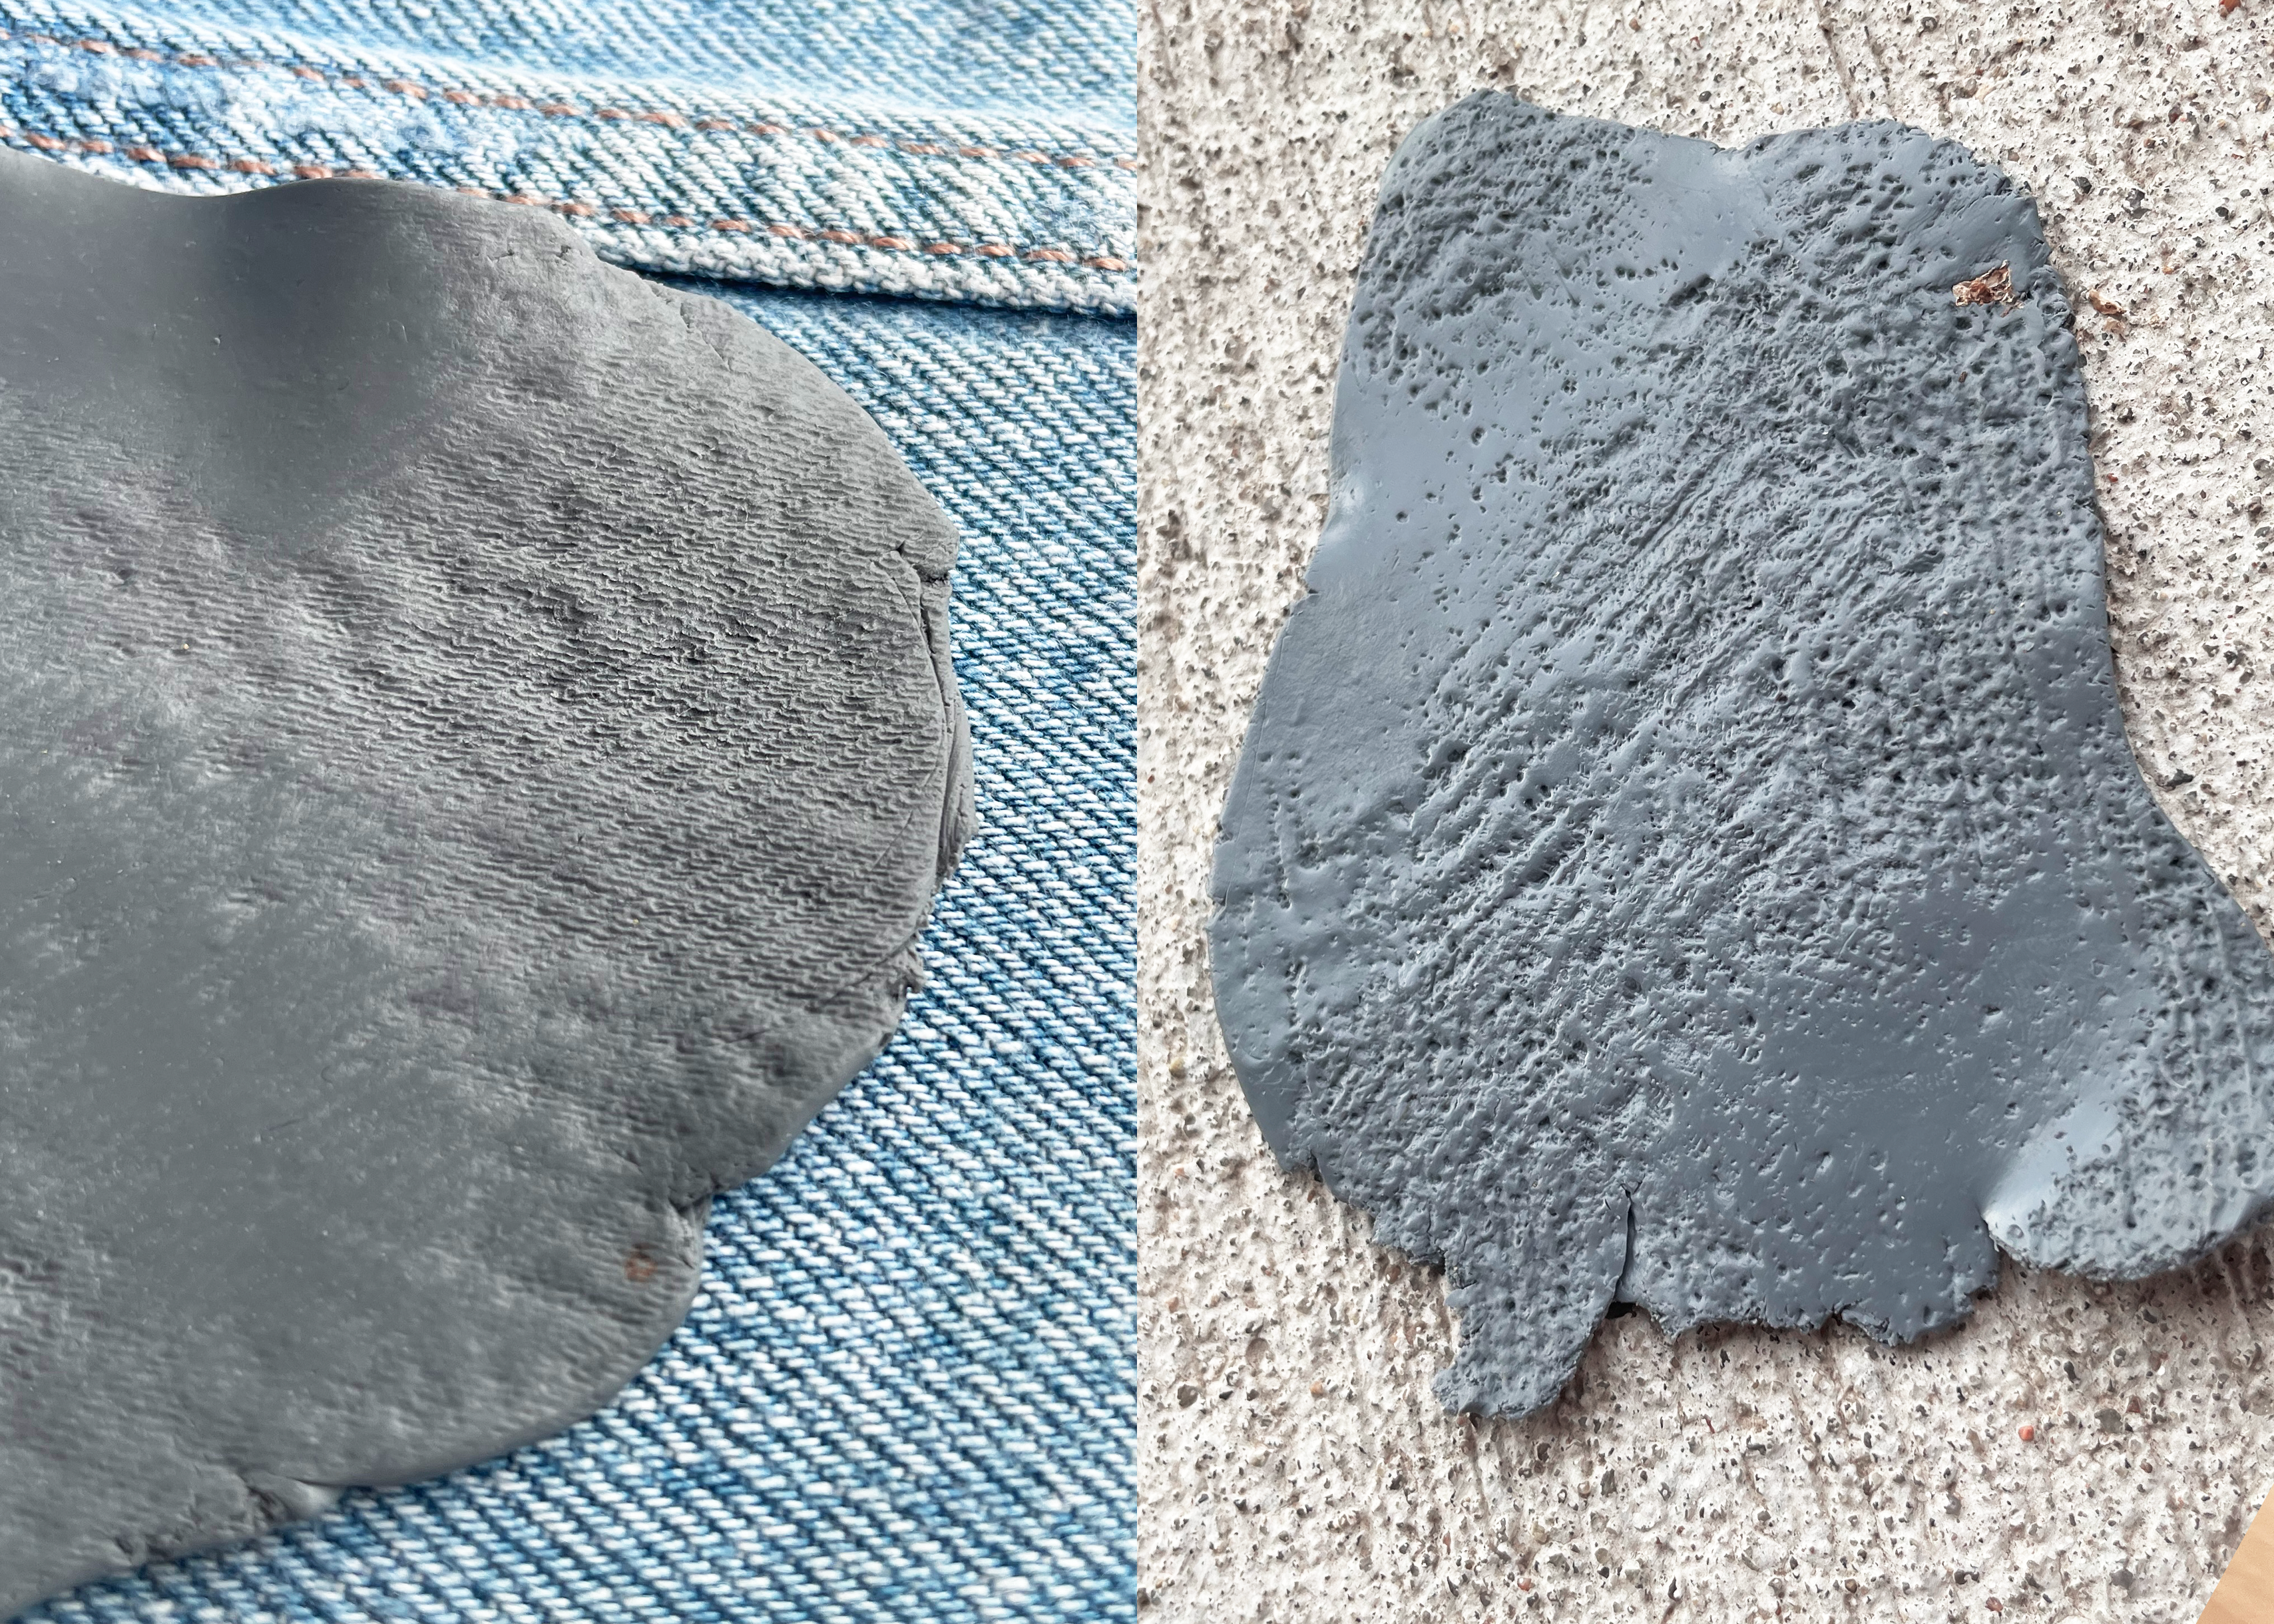
Worried your clay will get stuck on an object you are trying to use? Lightly coat the surface in baby powder to prevent any sticking.
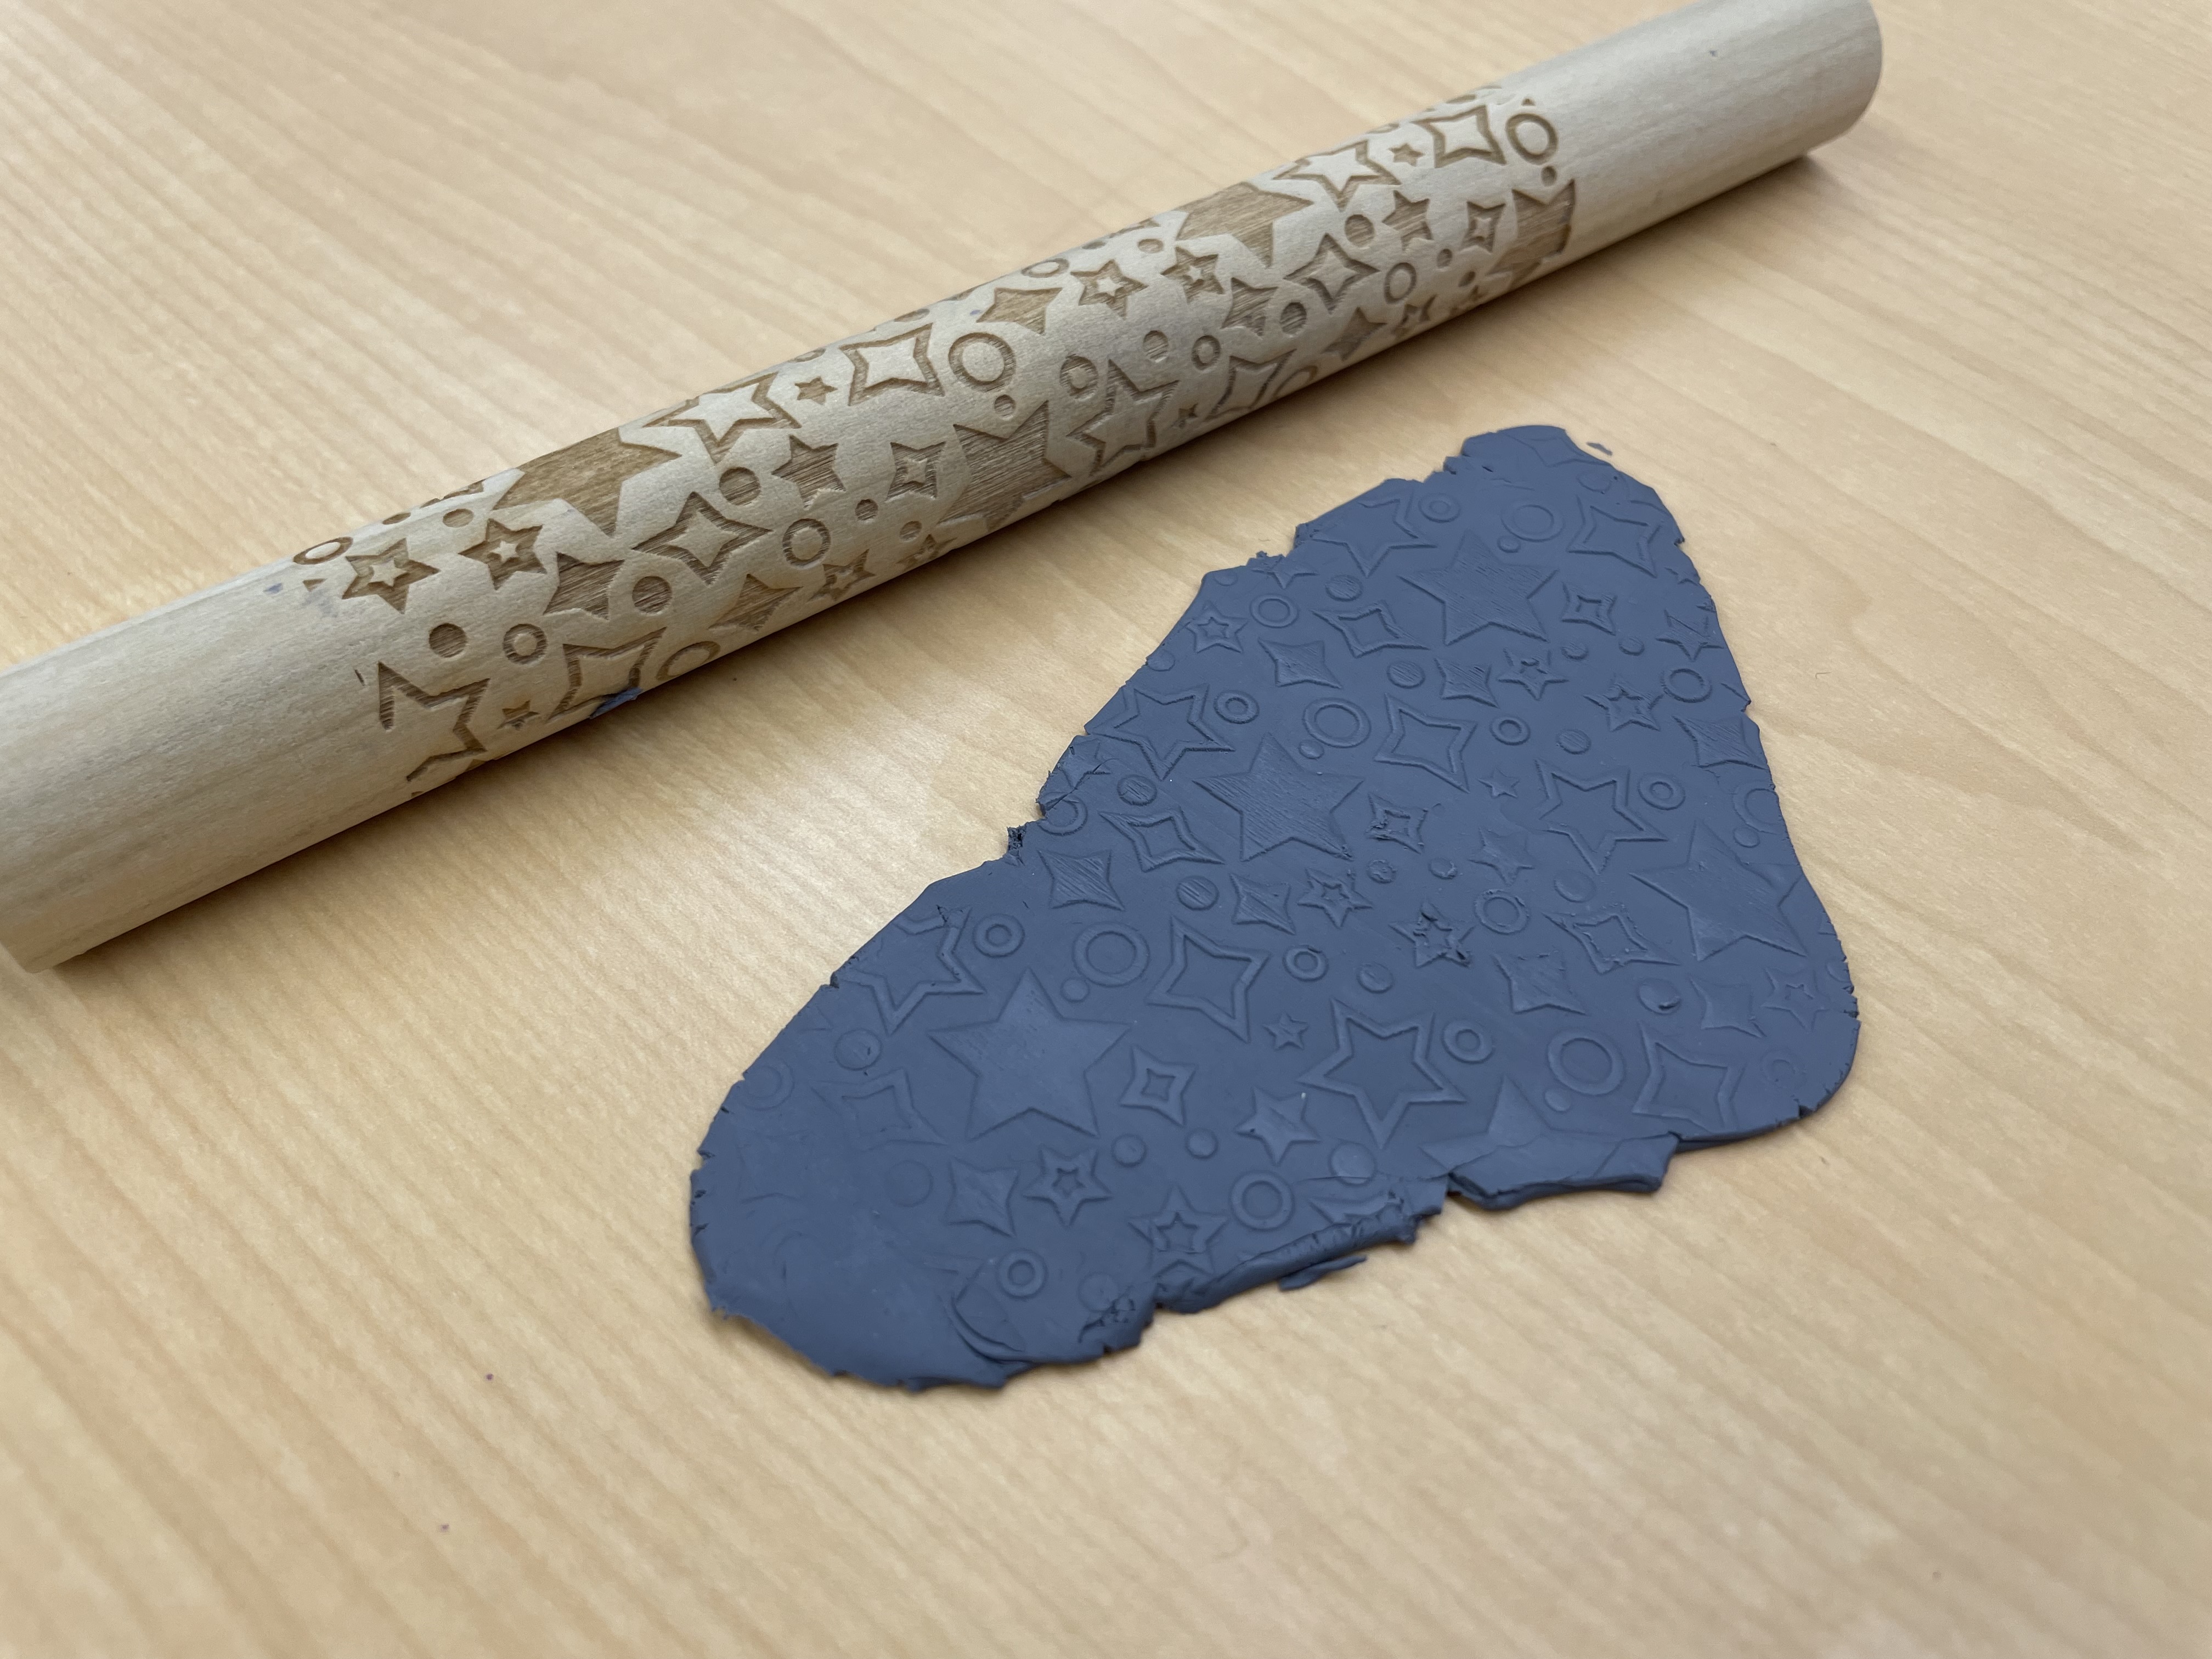
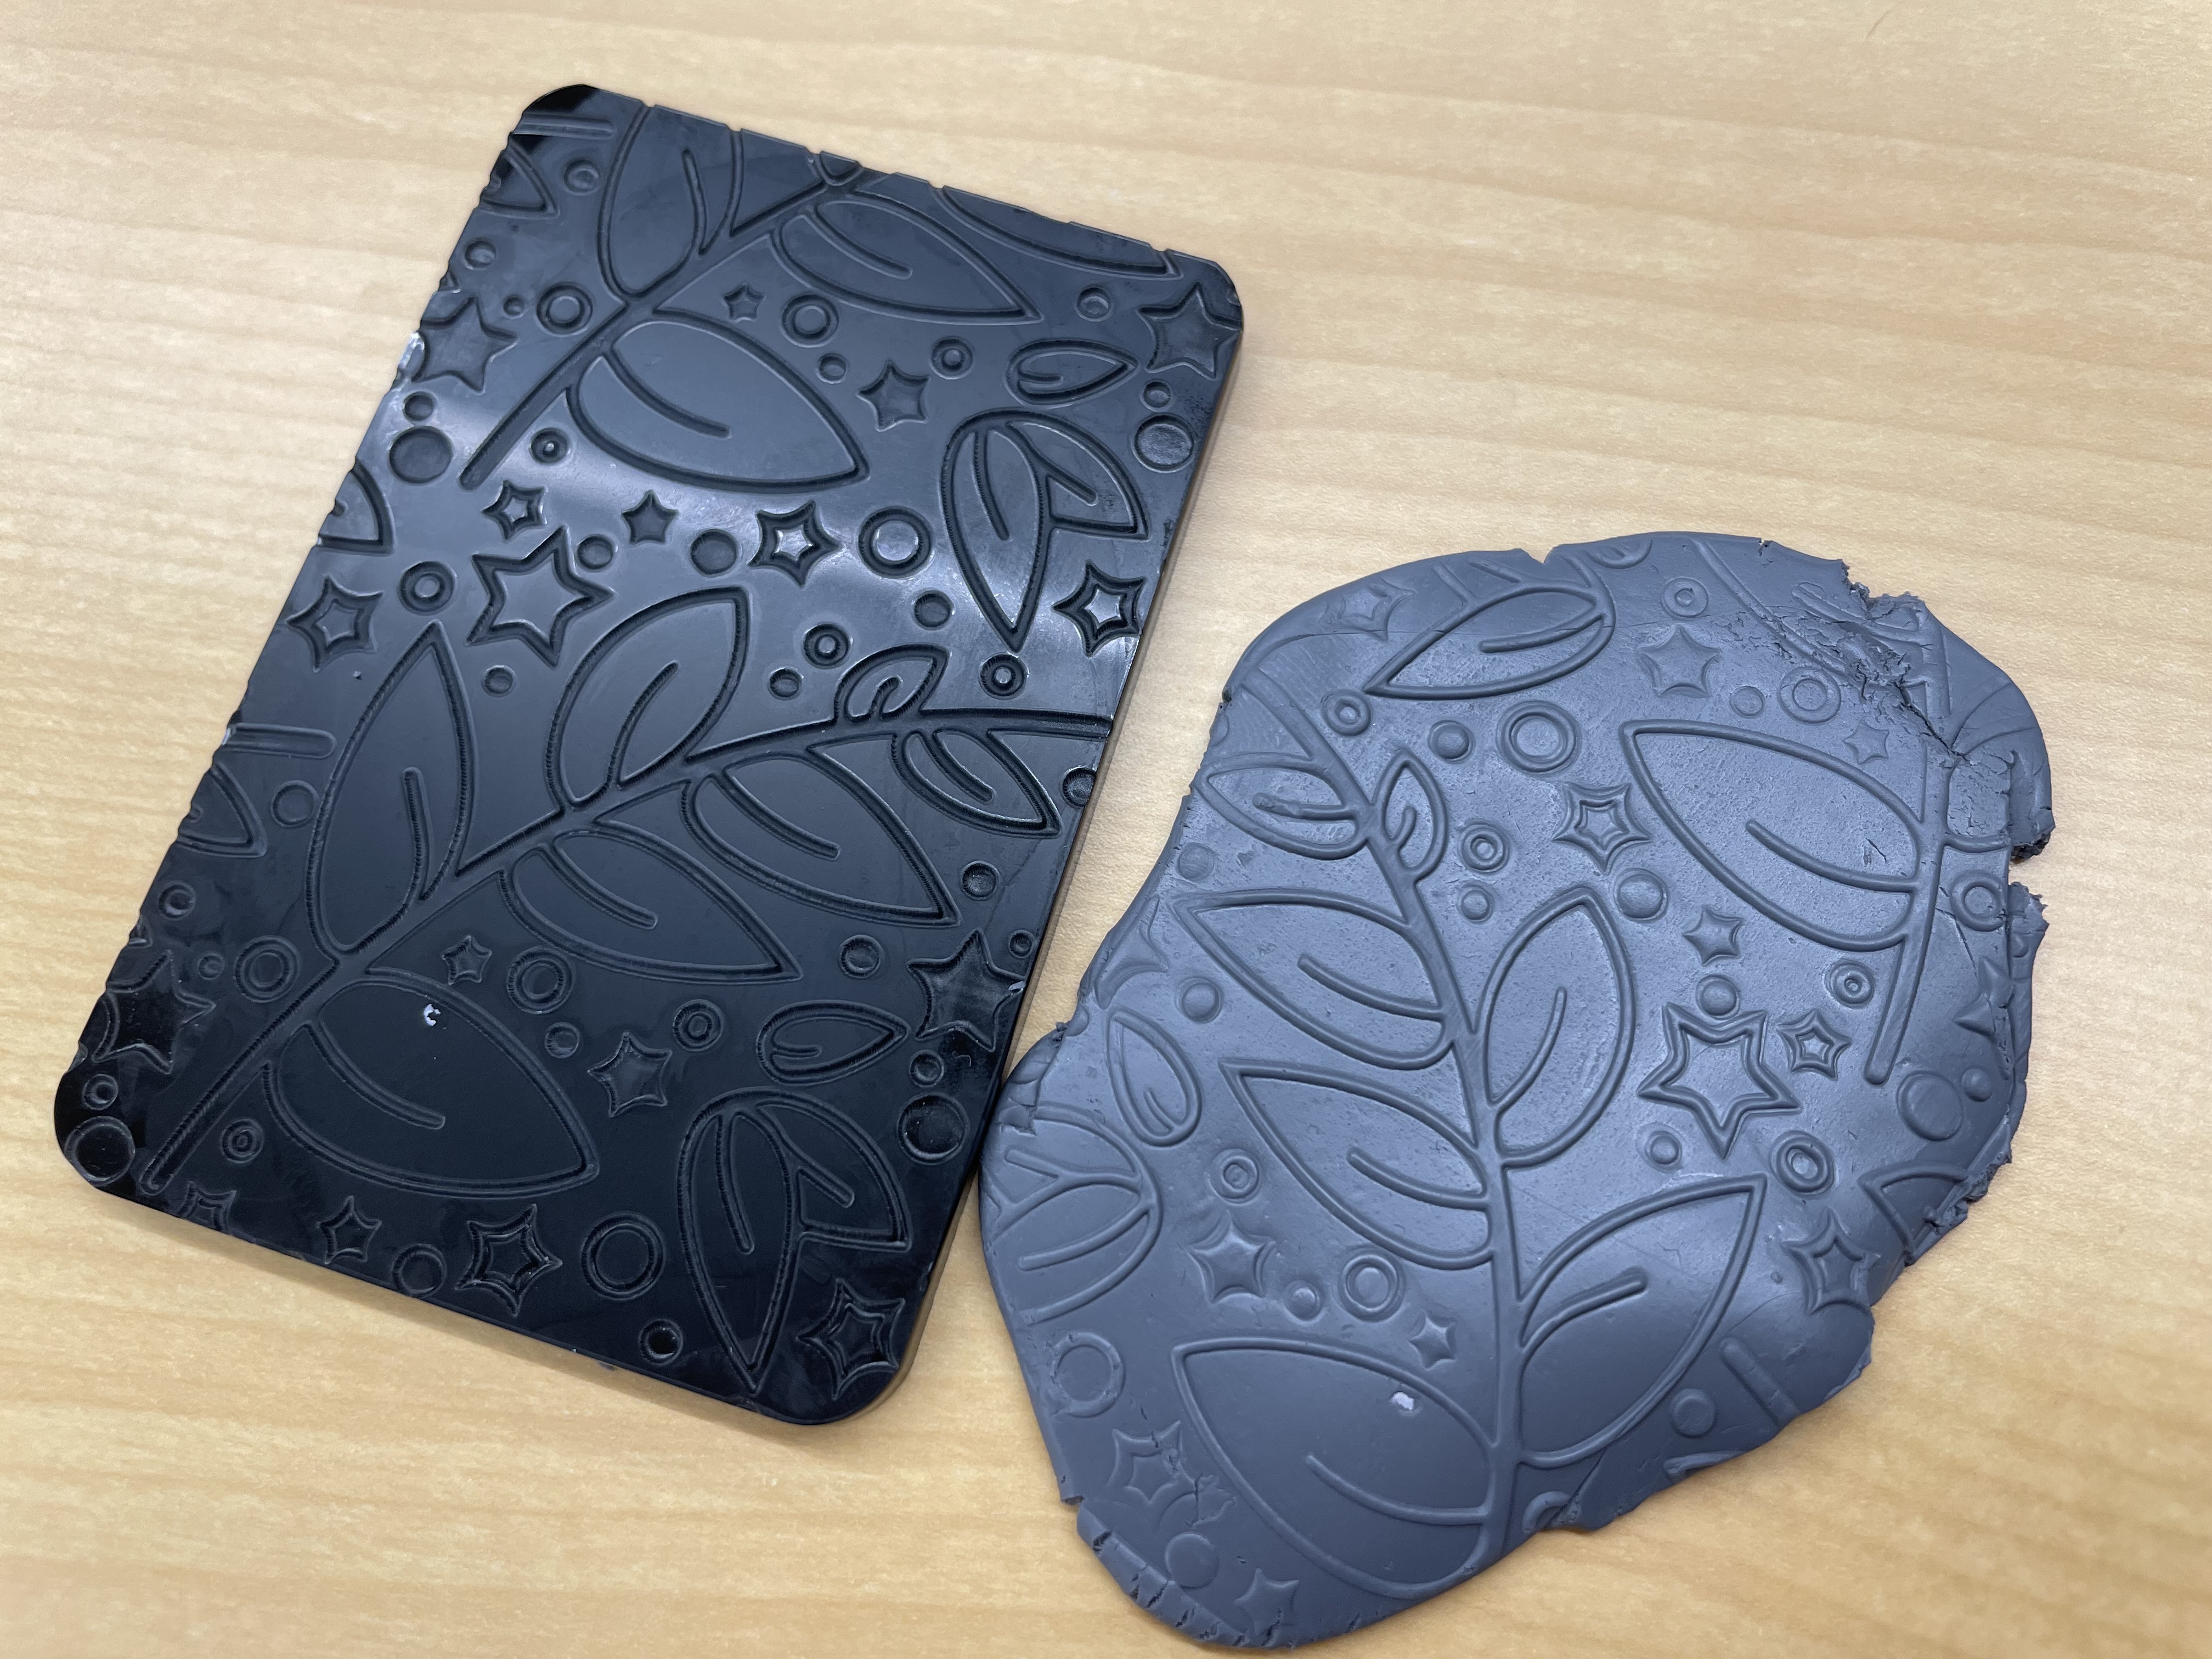
Found textures can be engaging to play with, but sometimes you need more control over the design. We wanted to make specific designs for impressing into the clay. This is where digital fabrication methods be used to create precision tools & textures.
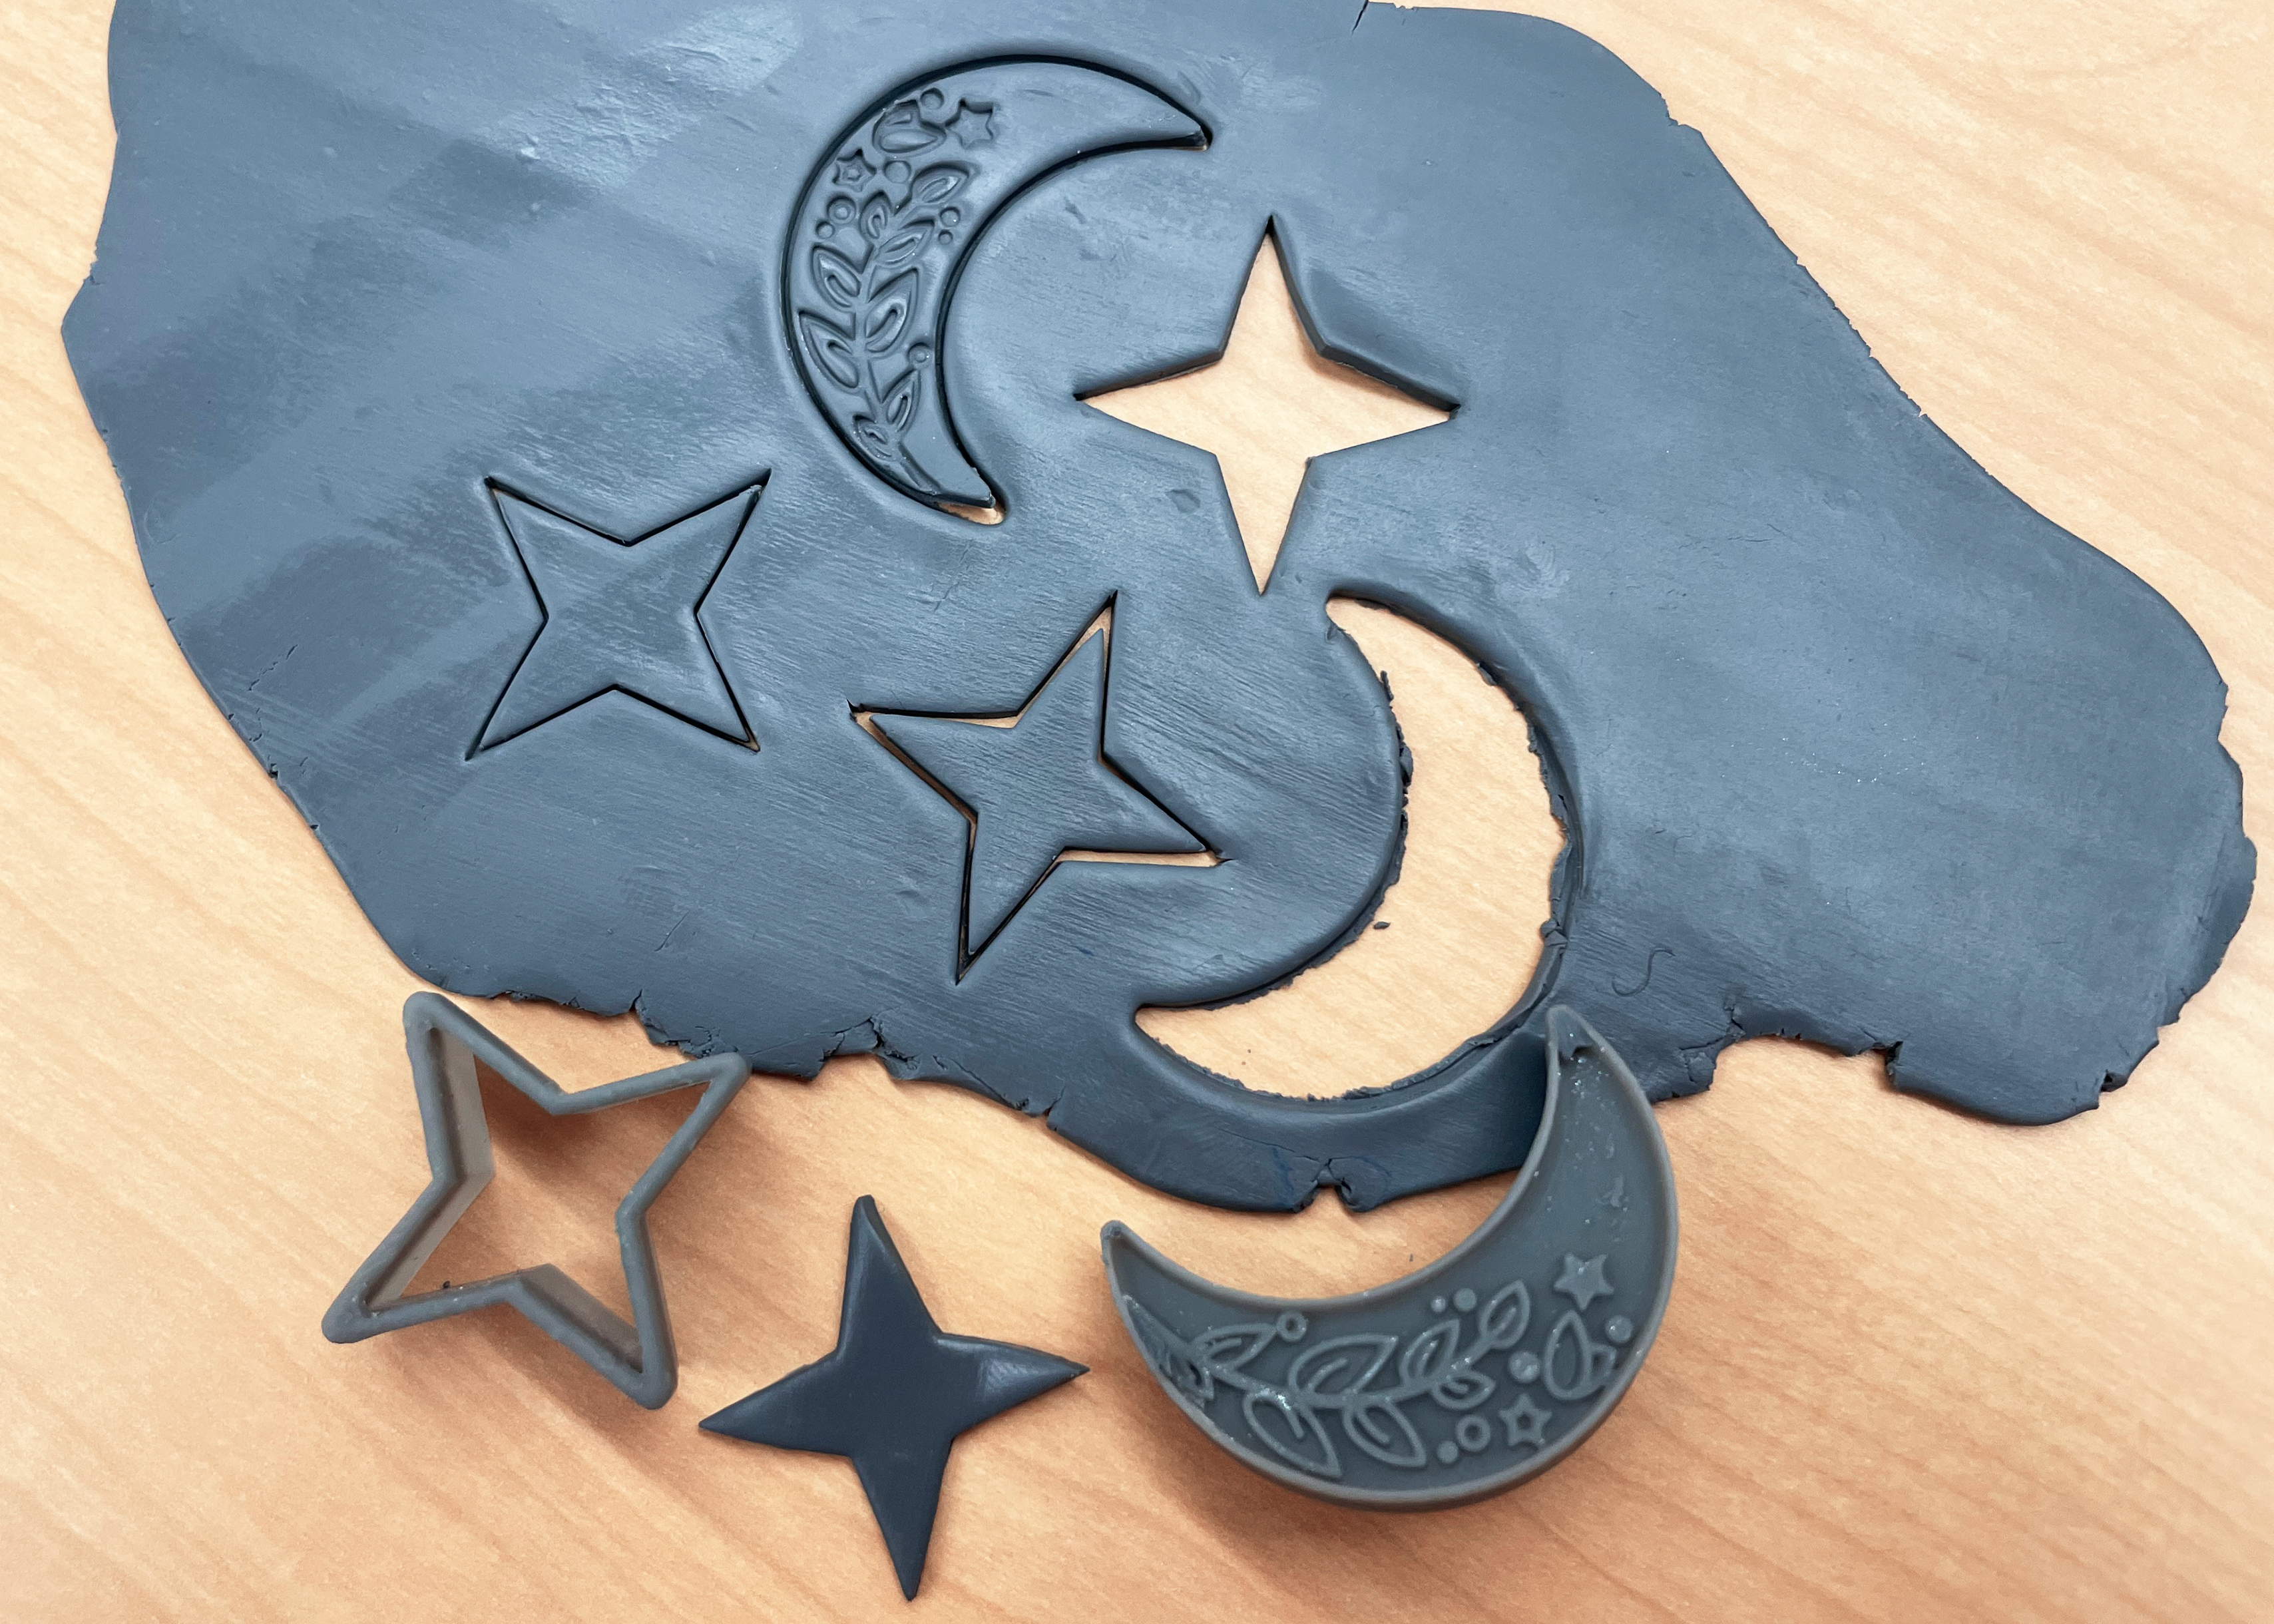
Laser engraving into acrylic, silicon, or wooden dowels made it possible to transfer these highly detailed patterns to clay. While each material had their own method for application, the results were the same. A highly detailed impression that would take years of practice to be able to sculpt.
With a texture now imprinted on the clay, it’s time to cut out the final shape you want from your clay. Cutting a shape can be done in a variety of ways. Use a small cookie cutter, cup, bottle cap or freehand cut them with a craft knife or other tool.
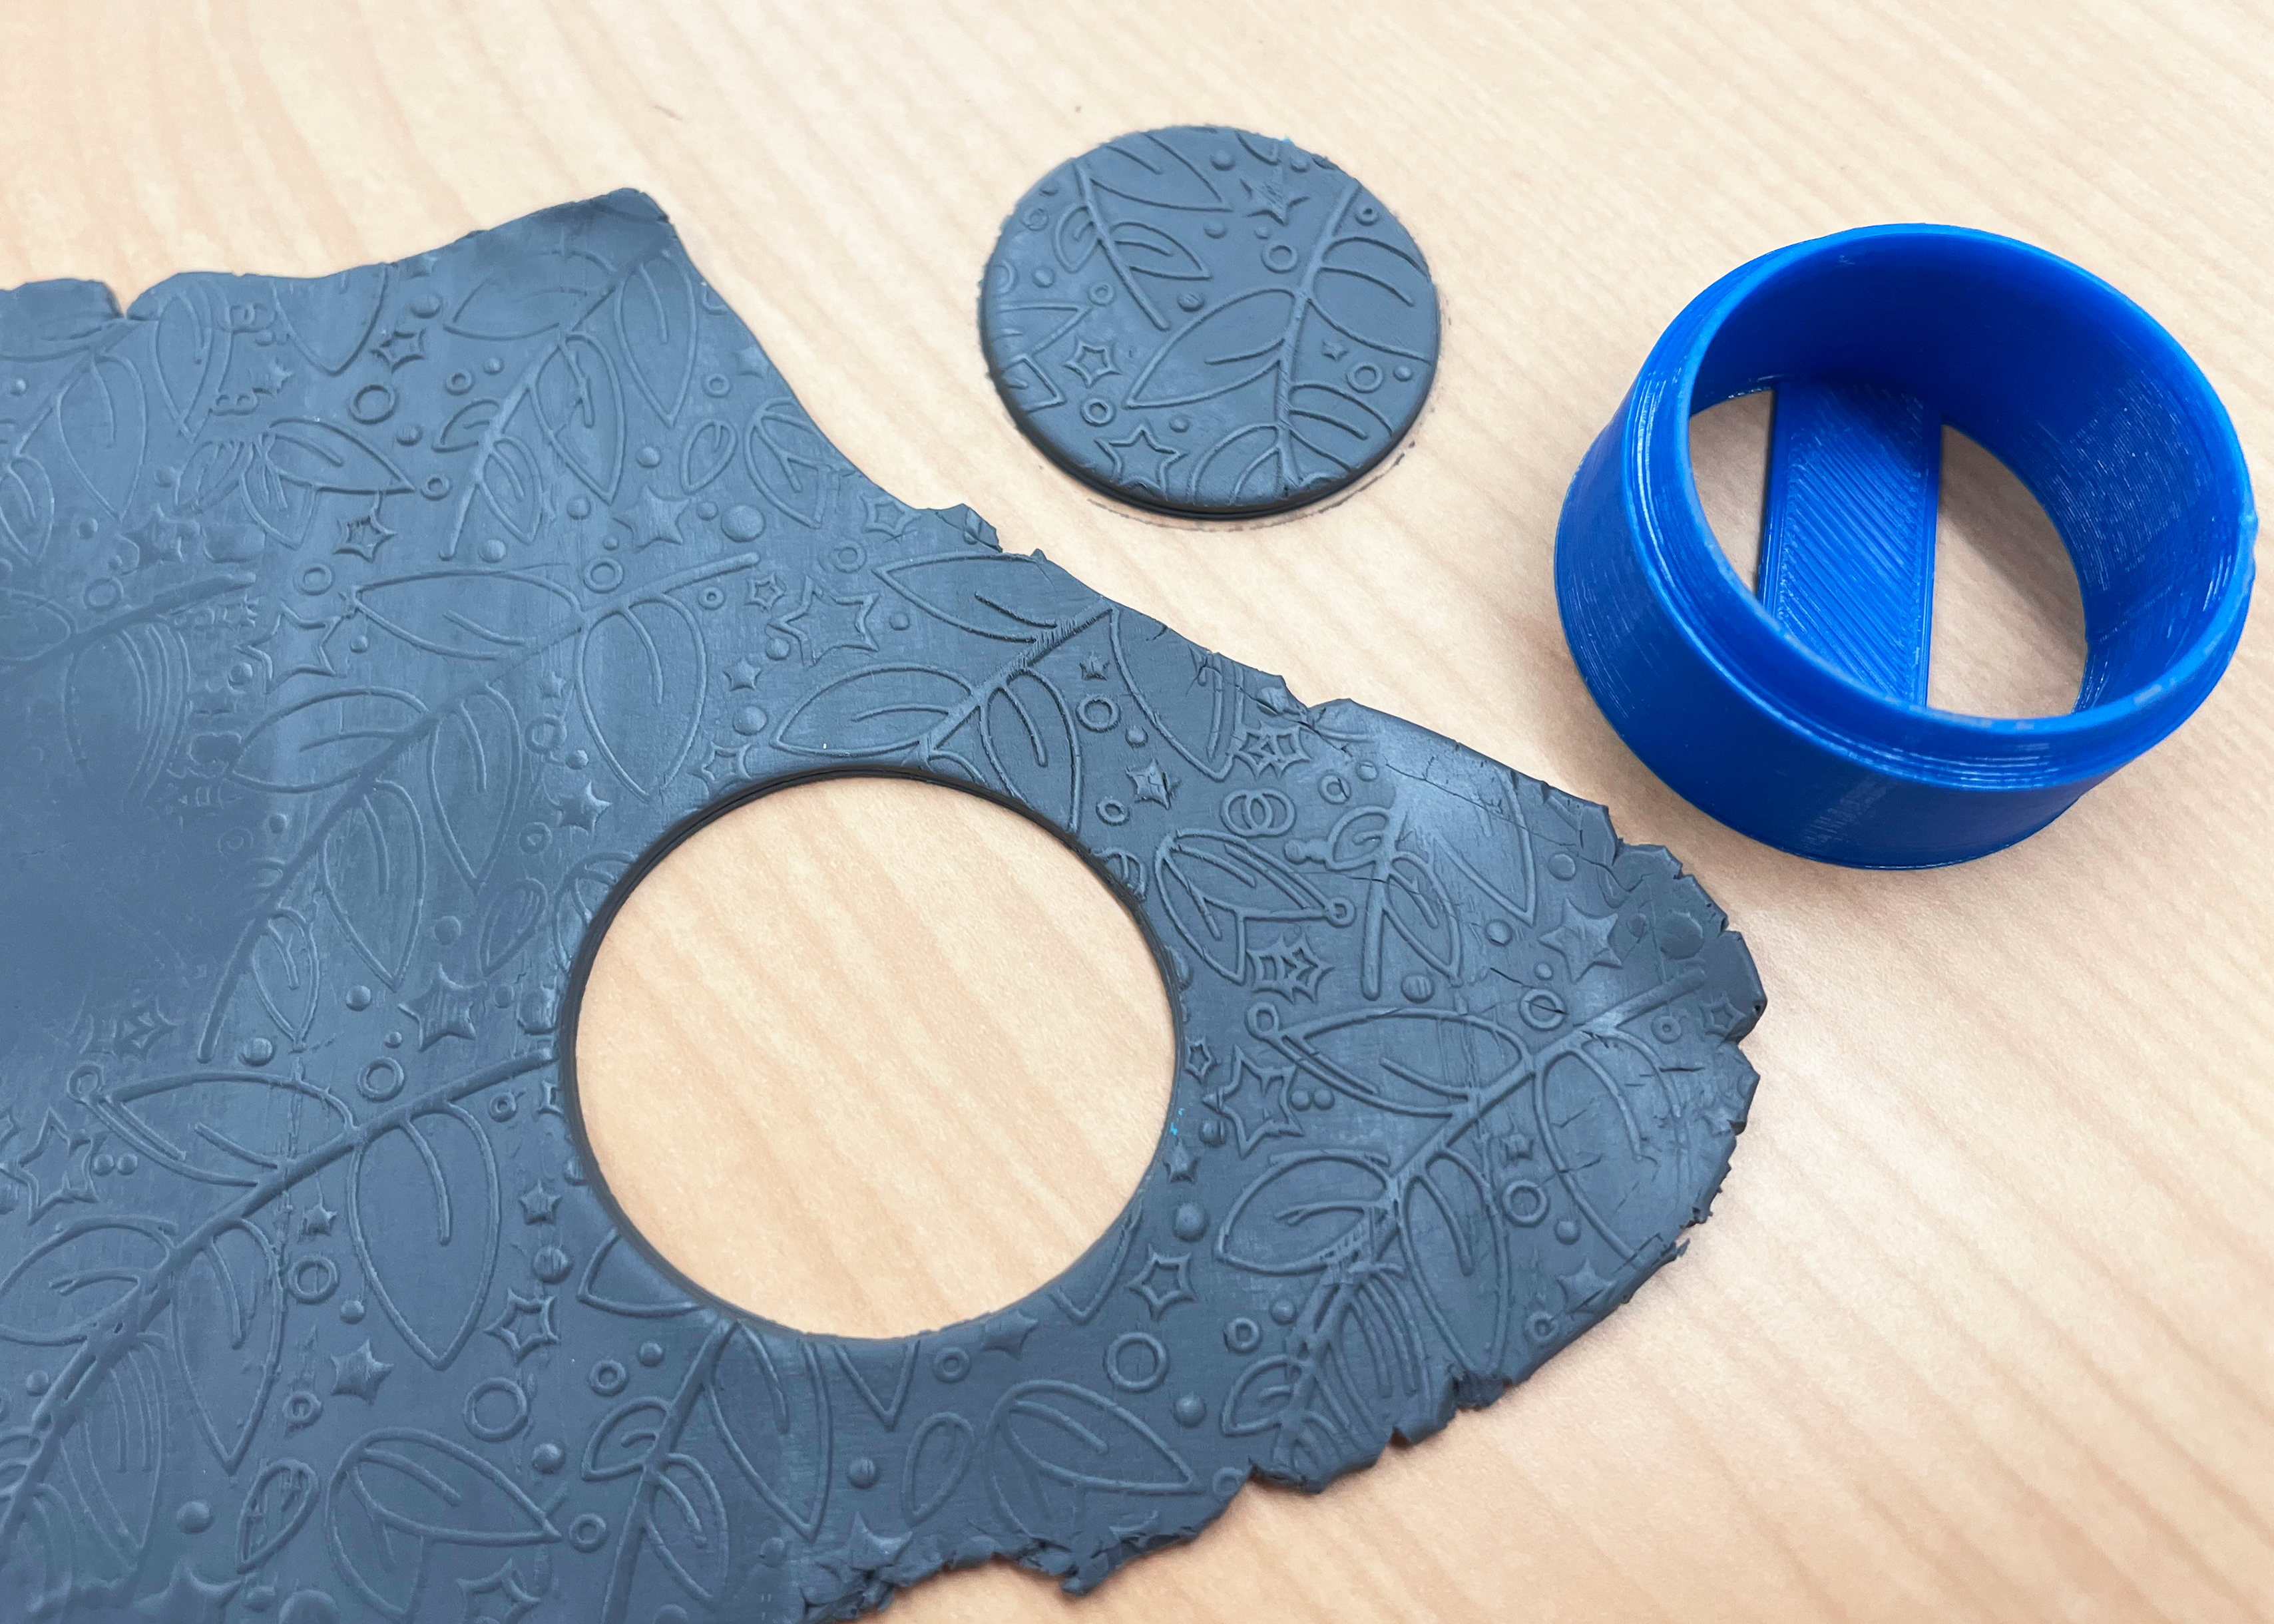
You can also 3D print your own custom cutter. It can be as small as you need it to be and could even include a custom imprint.
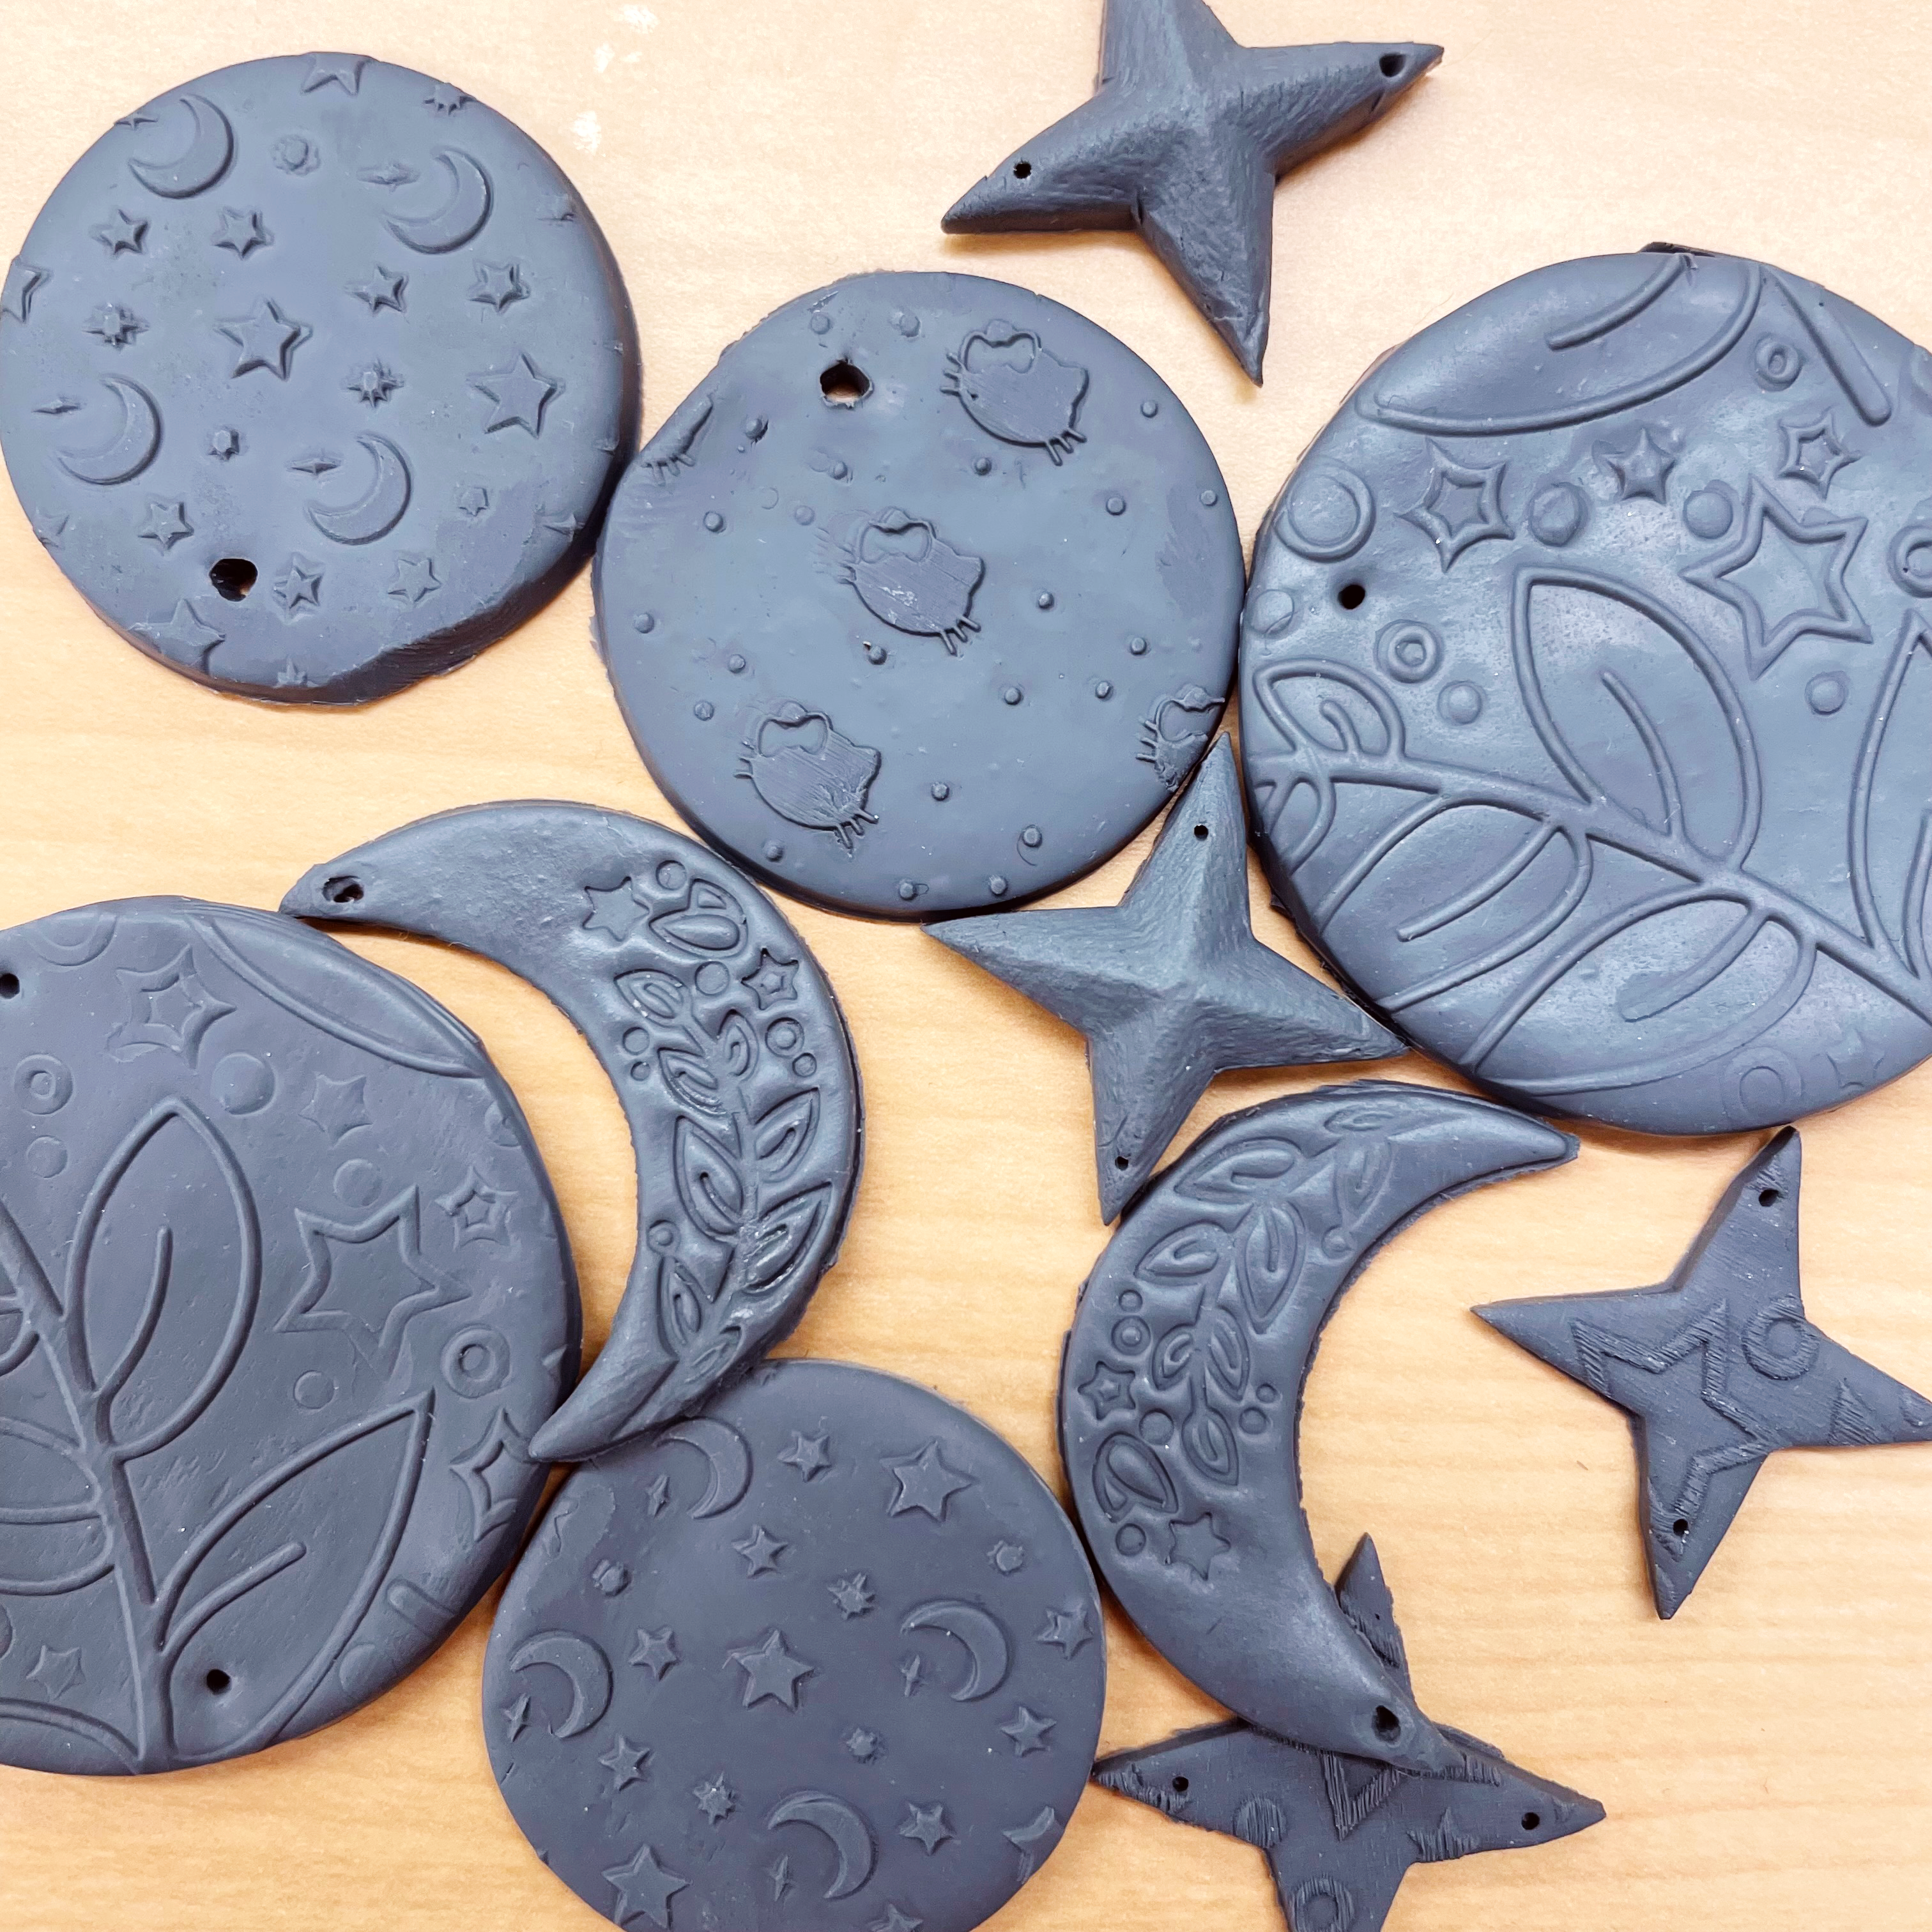
To finish off your design, follow the baking instructions on your clay’s packaging. This will harden the clay and make your design permanent. Fresh from the oven, the clay may still have some bend to it. Allow it rest for a few hours to cool and harden completely.
Warning: baking clay in the same oven you cook in is not recommended.
We would love to see your polymer clay creations! Tag us on Instagram @jocomakerspace or #JoCoMakes.